Tired of seeing your balcony plants wilt or just not grow the way you want? Most of the time, it all comes down to how you fill the planter before anything green even goes in. It isn’t rocket science, but it does take a little know-how to get it right, especially in a space where water, airflow, and sun aren’t always on your side.
First thing: never just dump old soil or straight-up garden dirt in a balcony planter. These hold water like a sponge, or worse, get rock hard in the heat. Your planter needs a foundation that drains well so roots don’t drown, but also stays moist long enough for plants to get a drink when they need it. If you get this balance right, your flowers, herbs, or even veggies will go wild.
- Choosing the Best Planter for Your Balcony
- Building Perfect Drainage from the Bottom Up
- Filling with the Right Potting Mix and Boosters
- Arranging Plants and Final Touches
Choosing the Best Planter for Your Balcony
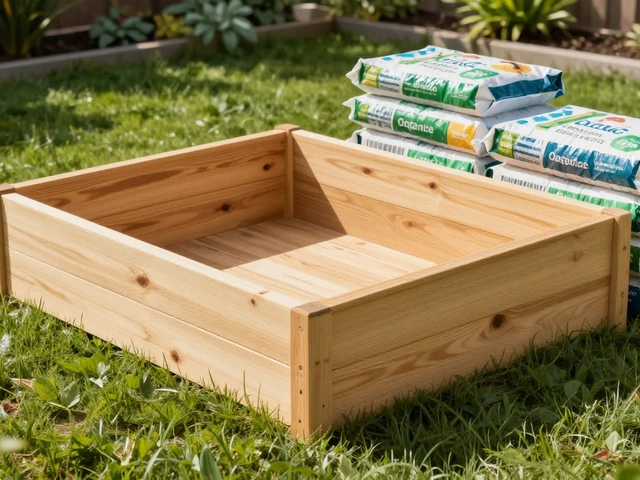
Before you even think about soil or what to plant, pick the right balcony planter for your space. Not all planters work great in small, windy, or sunny spots. On balconies, size, material, and drainage matter way more than most people think.
Go for planters with built-in drainage holes. Plants hate sitting in water, and roots rot fast if water can’t escape. If you’ve fallen in love with a pot that doesn’t have holes, you’ll want to drill some in—just make sure they’re not too big or small. Planters for outdoors are often made of plastic, metal, ceramic, or wood. Here’s a quick look at what’s practical for balconies:
- Plastic pots are lightweight and cheap, but heavy winds can blow them right off a rail. Secure them or pop in a bag of pebbles at the bottom for extra weight.
- Ceramic or terra cotta pots breathe well but dry out quickly, so you’ll be watering more often.
- Metal planters last long but heat up fast in the sun—great in cooler climates, not so much during a summer heatwave.
- Wooden window boxes look classy but only last a few years before they rot unless they’re treated for outdoor use.
If your balcony is on the higher floors, wind can be a problem. Tall, skinny planters might tip or even fly away. Use sturdy boxes with a wide base and, if possible, hook them securely to a wall or rail. Some planters come with special clips for this exact reason.
Also, check if your building has any weight or water drainage rules. Wet soil is heavier than it looks. For example, a 30-inch planter with wet soil can easily weigh over 20 kg.
| Planter Type | Weight (Empty) | Drainage | Balcony Friendly |
|---|---|---|---|
| Plastic Box | Light | Often | Yes, if secured |
| Terra Cotta | Medium | Yes | Yes, but dries fast |
| Metal Trough | Heavy | Sometimes | Depends on exposure |
| Wooden Planter | Variable | Usually | Yes, but check for rot |
Match the planter size to what you want to grow. If you’re thinking herbs or flowers, boxes that are 6–8 inches deep are usually fine. If it’s tomatoes or peppers, you’ll need something at least a foot deep. The right balcony planter saves you headaches, lost plants, and messes, so don’t skip this step.
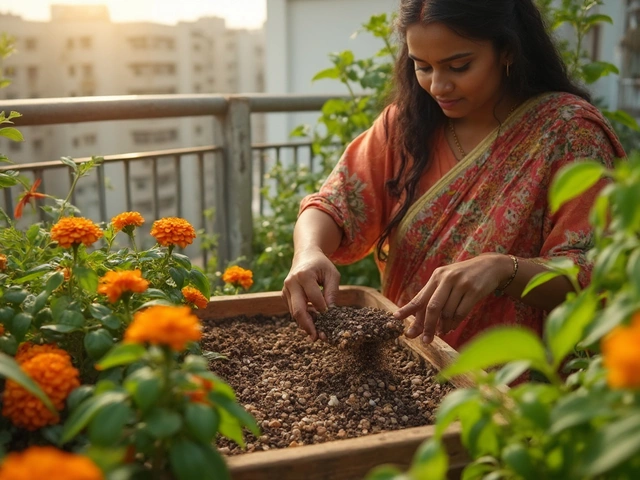
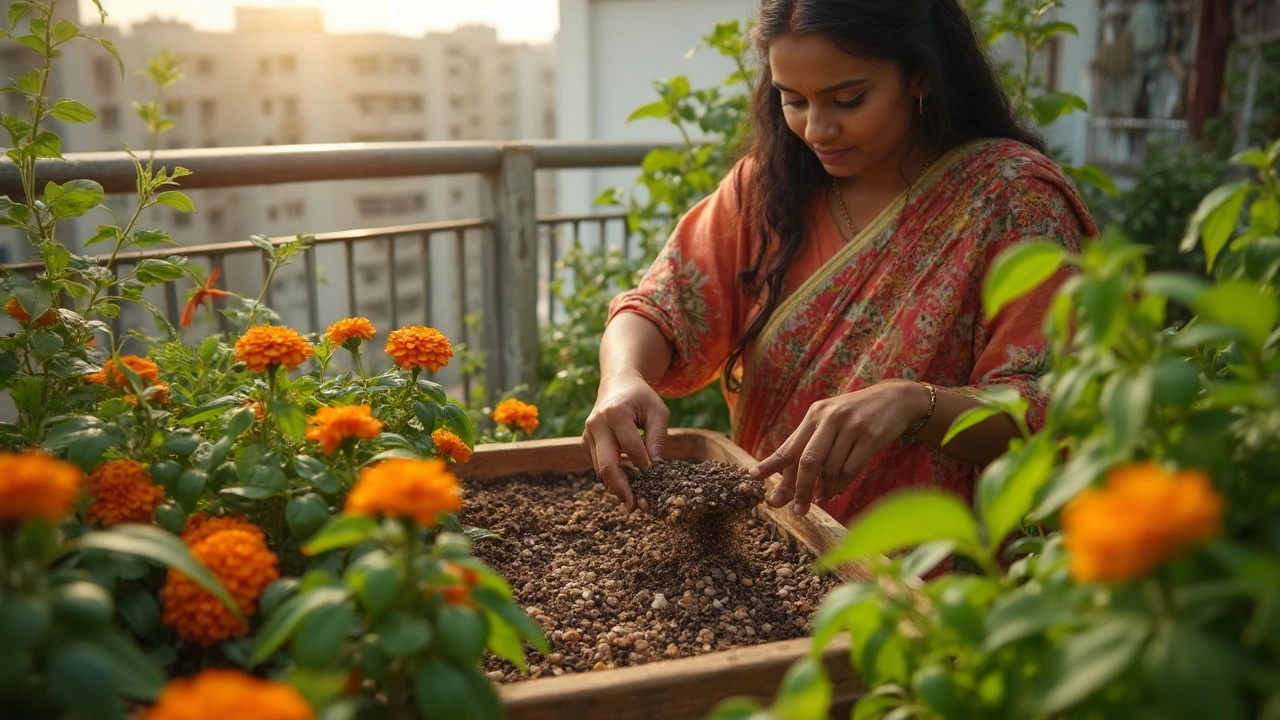
Building Perfect Drainage from the Bottom Up
Drainage can make or break your balcony planter. If water just pools at the bottom, roots rot in no time. That’s why you’ve got to layer the base right before adding any soil. Most standard pots come with drainage holes, but if your planter doesn’t, grab a drill and make a few—about the size of a pencil. No need to get fancy. Just make sure water can escape.
Now, what goes at the bottom? Skip the rocks—yep, you read that right. Studies from Washington State University show that pebbles or gravel actually make drainage worse in containers by creating a "perched water table" where roots sit in soggy soil. Instead, try materials like:
- broken terracotta pieces or chunks of old clay pots (great for airflow and super cheap)
- packing peanuts (the non-biodegradable kind—keep them dry and they're shockingly effective and light)
- coarse pine bark or big bits of coconut husk
After laying down your drainage layer—aim for about 1-2 inches, just to cover the bottom—add a thin sheet of landscape fabric or even coffee filters over it. This keeps your potting mix from sifting down into the drainage layer while still letting water flow through.
Some commercial planters now even have built-in water reservoirs to hold extra moisture, which can be handy if you travel or forget to water. Just keep in mind, extra water means more weight, and most urban balconies are only rated for around 50-100 lbs per square foot.
| Common Drainage Materials | Best For | Weight Impact |
|---|---|---|
| Broken Pottery | Airflow & Drainage | Medium |
| Packing Peanuts | Lightweight Planters | Very Low |
| Pine Bark | Natural Gardens | Low |
Garden designer Lindsey Taylor says it straight:
“The best thing you can do for balcony plants is make sure they’re never sitting in water—air at the roots is just as important as the watering itself.”So, build your base smart. Your plants will thank you with more flowers and fewer mysteries about why nothing survives the summer.
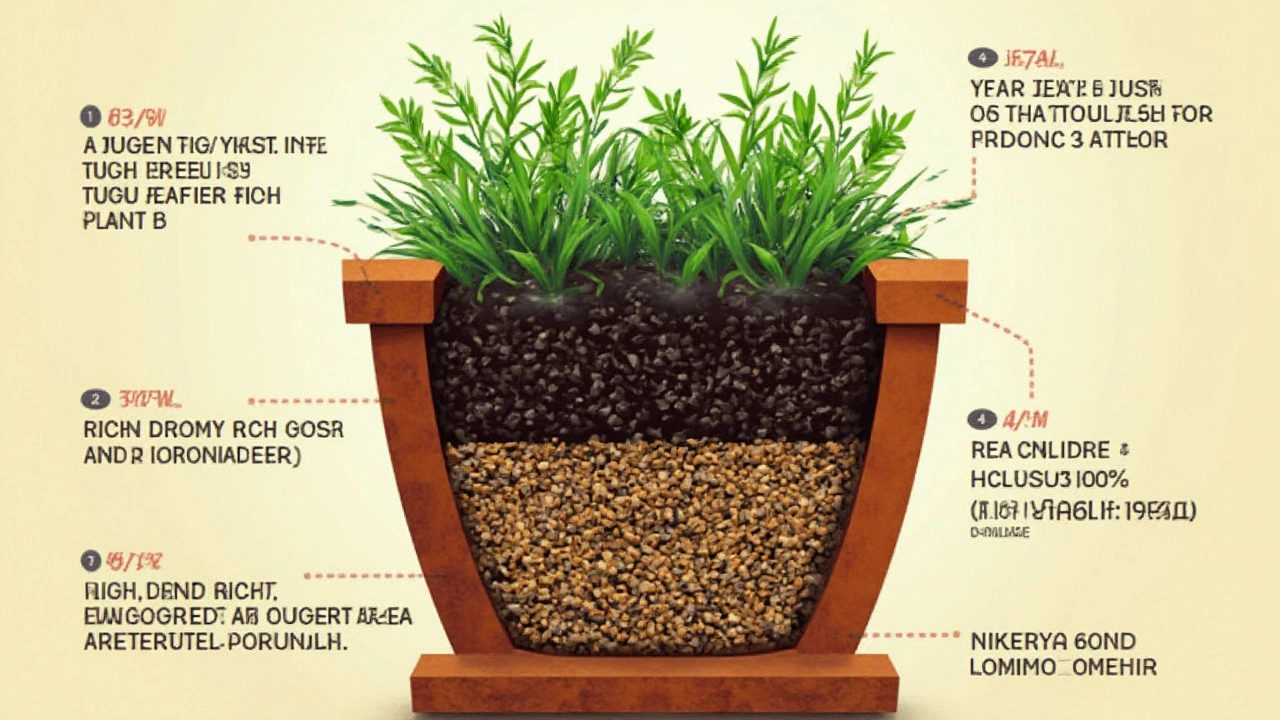
Filling with the Right Potting Mix and Boosters
If you want your balcony planter to actually work, ditch the idea of grabbing any old soil from your yard. Bagged potting mix is what you want, not heavy garden soil. Why? Potting mixes are made to stay lighter, hold just enough water, and drain out the rest, which is exactly what tight balcony spaces need. Look for words like “container mix” or “for pots” on the bag. A lot of big brands add perlite or coconut coir right in, to bump up drainage and help your roots breathe.
Want to keep things budget-friendly? You can also mix up your own blend. Here’s a basic recipe that covers most balcony plants:
- 2 parts store-bought potting soil
- 1 part perlite or pumice (for drainage)
- 1 part coconut coir or peat moss (holds just the right amount of water)
Layering matters too. Toss a thin layer of gravel or clay pebbles in the bottom if your planter’s on the deeper side—it won’t fix a pot with no drainage holes, but it helps extra water escape faster if you’re heavy-handed with the hose.
Now, plants in balcony planters can’t reach out for the good stuff underground, so you’ll want to add boosters before you even put them in. Mix in some slow-release fertilizer—most have a mix of nitrogen, phosphorus, and potassium (NPK) on the label. If you’re growing food, look for organic blends. And for a quick root boost, a handful of worm castings or compost can work wonders. Just don’t overdo it—a little goes a long way in a small urban container.
Here’s a cheat sheet to keep your blend on point:
| Potting Mix Add-In | Why Use It? |
|---|---|
| Perlite/Pumice | Keeps soil from getting compacted, improves drainage |
| Coconut Coir | Holds moisture, keeps roots from drying out too fast |
| Compost/Worm Castings | Feeds plants, improves mix structure |
| Slow-release Fertilizer | Steady nutrients for months, less feeding work |
It might sound like a lot, but this step is what sets you up for huge leaves and better blooms. Plus, the right potting mix means less root rot and a lot less drama from pests. A little time spent mixing now saves you a ton of plant stress later.
Arranging Plants and Final Touches
Once your balcony planter is filled and your mix prepped, it's time to do the fun part—arranging plants. The way you place them really matters, not just for looks but for how well they'll grow. Start by grouping plants that have similar sunlight and water needs. Don’t put a sun-thirsty geranium next to basil that loves a bit more shade; one will always get the short end.
- Put taller or trailing plants at the back or edges. This way, they won’t block out sunshine for the shorter, more compact ones.
- Plant in odd numbers for a natural, fuller look (groups of three or five look way better than pairs).
- If you're mixing herbs and flowers, keep the fast-growers like mint contained or separated—they’ll take over everything if you let them.
- Leave enough space—at least a hands-width—between each plant. Crowding means more pests and a lot less airflow, which is a big problem in small balcony setups.
Want to know something interesting? Studies show that balcony gardens with mixed heights and textures boost your mood more than flat single-layer setups—turns out our brains like variety as much as our eyes do. If you want an edible garden, tuck in some easy veggies like cherry tomatoes or peppers. Cherry tomatoes especially go crazy in planters if you give them a little room, and you can pick them fresh for months.
Before you’re done, use a mulch layer—like small bark or pebbles—on top of the soil. This helps your potting mix hold onto water longer (a big deal when the sun beats down on a balcony) and cuts down on splashing dirt during heavy watering or rain.
If your balcony planter has a saucer underneath, check now that excess water can drain easily. Soggy bottoms are the #1 reason roots rot. Every week or so, give the planter a quarter turn so every side gets its fair share of sunlight. This little habit prevents your plants from growing lopsided.
| Plant Type | Sun Requirements | Spacing Needed |
|---|---|---|
| Geraniums | Full Sun | 20 cm |
| Basil | Part Sun | 15 cm |
| Petunias | Full Sun | 15 cm |
| Mint (potted) | Part Sun | 20 cm |
Last thing: don’t pack your urban gardening dreams with too many different varieties. Less is more, especially when you’re just starting. Watch for pests or browning leaves as you go—on a balcony, trouble can spread fast, but you’ll usually catch it quickly because everything’s right outside your window. That's it. Your space is prepped, thriving, and pretty much foolproof.