Setting up your first garden can feel like a puzzle—too many choices, not enough space, and where do you even start? Skip overthinking and zoom in on what matters: sunlight, layout, and what you actually want to eat. You don’t need a sprawling backyard or fancy tools to nail this. Most kitchen garden wins come from getting the basics right from the start.
Grab a piece of paper and draw your space. Even if it's just a few pots on a balcony, knowing what you’re working with keeps you from buying too many seeds or overcrowding plants. The sun is your best friend here. Vegetables love at least six hours a day, so watch where the brightest spot is (hint: south-facing yards usually get the most light if you’re in the Northern Hemisphere).
- Finding the Best Spot
- Sketching Your Garden Plan
- Choosing Easy Crops
- Bed Styles and Spacing Basics
- Common Pitfalls and Simple Fixes
Finding the Best Spot
Picking the right spot for your garden will make or break your harvest. Even if you have loads of ambition, nothing grows well in the shade or where water just puddles up. The big thing to look for? Sunlight. Most kitchen garden favorites—like tomatoes, peppers, and lettuce—need at least six hours of direct sun daily. More is even better, so look around and notice where the sun hits your yard or balcony longest through the day.
- Garden layout starts with checking sunlight. South-facing areas outside get the most steady sun, especially in North America and Europe. East or west spots are okay, but watch how shadows creep from nearby trees, fences, or even your house.
- Keep an eye on the ground, too. You want soil that doesn’t turn into a swamp when it rains. Most veggies hate soggy roots. If you’re stuck with heavy clay or rocky ground, containers or raised beds make things a whole lot easier.
- Water matters as well. If you’re hauling cans back and forth, the fun wears off quickly. Make sure your spot is close to a hose or at least not a trek from the kitchen.
- Don’t forget about wind. High winds dry things out and snap tender stems. If your yard is a wind tunnel, plant near a fence or hedge, or use a simple windbreak.
Here’s a quick cheat sheet to help compare your options:
| Spot | Sunlight (hrs) | Soil Drains? | Near Water? | Sheltered? |
|---|---|---|---|---|
| South-facing Yard | 8+ | Yes | Yes | Yes/Partial |
| Balcony (East-facing) | 4-6 | N/A (pots) | Yes | Yes |
| Under Big Tree | 2-3 | Maybe | No | Yes |
| Side of Garage | 5-6 | Usually | Maybe | No |
When in doubt, stick with the brightest spot you have. You can always add some shade for leafy greens, but you can't force the sun to move. If you rent and can’t dig, no sweat—pots or grow bags on a sunny patio totally count as a kitchen garden. The key is just starting with an area where your plants have the best shot at thriving.
Sketching Your Garden Plan
This is where your garden layout starts to take shape. No need to be a professional artist—just grab a pencil and show what fits where. The key is seeing everything on paper before you dig. Even small mistakes can lead to wasted time and dead plants later.
Start by measuring your available space. Jot down the shape and note anything important like fences, big trees, or shady spots. Next, think about how you want your paths—nobody enjoys stepping through mud to get to their tomatoes.
- Mark where the sunniest spots are. Morning sun is gentle, afternoon sun is hotter.
- Figure out water access. If you’re dragging a hose across the yard every day, you’ll lose motivation fast.
- Draw where you want to place your main beds or containers. Raised beds, rows, or even quirky shapes like keyholes if your space allows.
- Don’t forget room to walk! Leave at least a foot between beds to make harvesting and weeding easy.
- Plan the location of taller crops so they don’t cast shade on shorter ones. It sounds obvious, but this is a common beginner slip-up.
Check this quick reference table to help you size things up without guessing:
| Bed Style | Typical Width | Typical Length | Best For |
|---|---|---|---|
| Raised Bed | 3-4 ft | 6-8 ft | Small yards, easy access |
| Traditional Row | 18-24 in | Any length | Large open spaces |
| Container | 12-18 in | 12-18 in | Patios, balconies |
Don’t stress about a perfect plan. Even a basic sketch helps you organize and keeps you from making rookie mistakes, like planting sprawling zucchinis next to lettuce that won’t stand a chance. Changing your plan on paper is a lot easier than moving dirt in real life.
Choosing Easy Crops
The best part about kitchen gardening? You can start small and still grow a surprising amount of food. For beginners, some veggies are way less fussy than others. They’re fast, forgiving, and don’t need complicated care routines—perfect for building confidence and beating that first-timer anxiety. Focusing on the right crops takes a lot of pressure off your garden layout.
Here’s what works for most people, even if you just have a few pots:
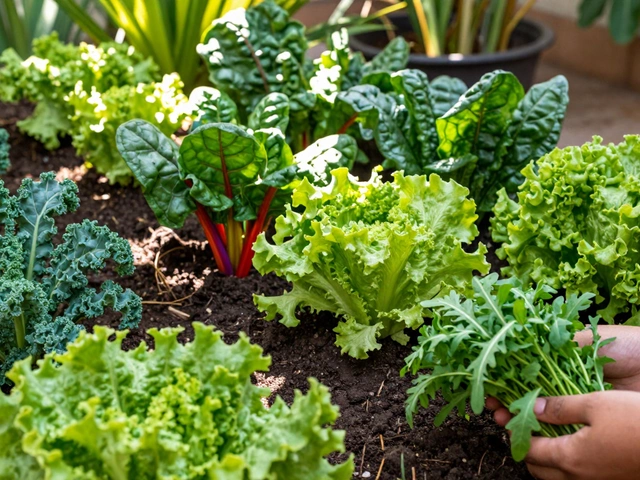
- Salad greens (like lettuce, spinach, arugula) – Super quick to sprout, happy in containers, and you can harvest leaves as you need them.
- Radishes – Grow from seed to harvest in less than a month. Great for instant results.
- Cherry tomatoes – Only need one or two plants for a big harvest. Give them a sunny spot and some support once they start shooting up.
- Herbs (basil, parsley, chives) – These pack a flavor punch and thrive on windowsills or small garden beds.
- Green beans – Pole or bush types both do well. Pole beans climb, so use a trellis if you’re low on space.
Most of these don’t need fancy soil or fertilizer. Grab a bag of basic potting mix (no yard dirt; it’s too heavy and often full of weeds) and water enough to keep things moist but never soggy.
Check out how fast you’ll see results from planting these common beginner crops:
| Crop | Days to Harvest | Sunlight Needs |
|---|---|---|
| Radish | 25-30 | 6+ hours |
| Lettuce | 35-50 | 4-6 hours |
| Spinach | 37-45 | 4-6 hours |
| Cherry Tomato | 65-80 | 6+ hours |
| Basil | 45-60 | 6+ hours |
If you want to try something fun, plant a mix—like greens and radishes together—since they don’t crowd each other. This way, you get more out of your space, and if one crop struggles, another will probably succeed. Stick to these simple choices, and you’ll be eating homegrown salads before you know it.
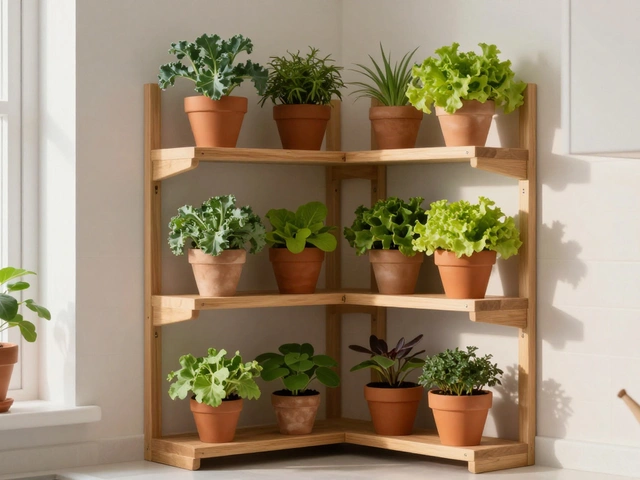
Bed Styles and Spacing Basics
You’ve figured out where your garden will go. Now it’s about how you set up the beds and give your plants enough room to breathe. This is where kitchen gardens go from crowded chaos to easy harvests.
There are two main styles for beginners: traditional in-ground rows and raised beds. Raised beds have become really popular because they’re way easier for beginners to manage. They give you more control over soil quality, drain water better, and are less of a pain to weed. A simple 4x4 foot or 4x8 foot bed is perfect—most people can reach the middle from either side without stepping on the soil (which keeps the dirt nice and fluffy).
If you don’t want to build something, just mark out a rectangle on the ground, loosen the soil with a fork, and work in some compost. It’s that simple. For super small spaces, big containers or even grow bags work great and follow the same spacing rules.
The real trick? Don’t cram your plants together. Most vegetables need space to spread, or you’ll end up with more leaf than fruit, and diseases spread like wildfire when air can’t move. Use the spacing on your seed packet as a guide, or check out this easy table for some common veggies:
| Vegetable | Typical Space Between Plants |
|---|---|
| Tomato | 18–24 inches |
| Carrot | 2 inches |
| Lettuce | 10–12 inches |
| Peppers | 12–18 inches |
| Basil | 8–10 inches |
Walkways are often forgotten. Leave enough paths between your beds or rows—at least 18–24 inches wide—so you can get in there to pick, water, and weed without stomping on your plants.
Here's a quick checklist for garden layout success:
- Raised beds: Easy to manage, keeps weeds down, and helps drainage.
- Each bed should be no wider than 4 feet.
- Leave enough space between plants—truly, it matters more than you think.
- Leave pathways wide enough so you don’t have to hop or tiptoe.
- Rotate crops in your beds each year if you plant for more than one season. It keeps soil healthy and weeds guessing.
Getting your spacing right means less stress and bigger harvests. Start roomy—you can always tuck in more herbs or salad greens if you see bare spots later. Give your veggies space to thrive!
Common Pitfalls and Simple Fixes
Even experienced gardeners mess up sometimes, so if you hit a few bumps, you’re not alone. Most beginners trip over the same issues, but luckily, they’re super easy to spot and fix.
- Overcrowding Plants: It’s tempting to cram lots of seedlings into your veggie bed because they look so small at first. The problem? They fight for nutrients, get leggy, and you end up with less food—not more. Always read the seed packet for spacing or use your hand spread (about 8 inches) as a cheat. A zucchini plant, for example, can take up as much space as a small dog when fully grown!
- Bad Watering Habits: Too much or too little water can wipe out your crop faster than any bugs. Stick your finger in the soil up to your second knuckle. If it feels dry, water deep until the soil is moist but not muddy. Early morning is the best time to water, way better than blazing afternoons or late nights.
- Picking a Shady Spot: A big rookie error is underestimating how much the sun moves. Even if a corner looks bright for an hour, most vegetable gardens need at least 6–8 hours of direct sunlight to thrive.
- Ignoring the Soil: Plain ‘dirt’ isn’t enough. If your plants look wimpy, grab a bag of compost and mix it in before planting. According to a 2023 Rutgers study, improving soil with compost can boost veggie yields by up to 40%. That’s basically an upgrade for your whole kitchen garden.
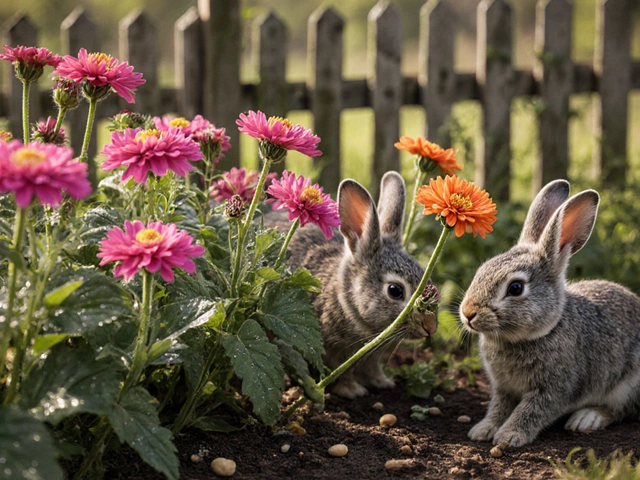
- Forgetting Bugs and Critters: Rabbits, slugs, and even squirrels are little hooligans in the garden. An easy fix? Chicken wire for four-legged bandits, and beer traps (or handpicking) for slugs. No need for pesticides right away—try cheap and simple barriers first.
Check out this table to see how much impact these mistakes can have, and what you can do about it:
| Pitfall | Typical Impact | Quick Fix |
|---|---|---|
| Overcrowding | Stunted plants, smaller yield | Thin seedlings, follow spacing guides |
| Poor Watering | Yellow leaves, rotting roots, slow growth | Check soil moisture, water early in the day |
| Low Sunlight | Leggy, weak plants with few veggies | Move containers or pick the sunniest spot |
| Poor Soil | Unhealthy, pale plants | Add compost, use raised beds if needed |
| Pests | Leaves eaten, plants disappear overnight | Fencing, hand-picking, beer traps |
If you run into a problem, don’t panic. Most kitchen gardening fails are easy to turn around, even mid-season. Just pay attention, tweak as you go, and don’t be too hard on yourself for the learning curve.