Root rot can be a nightmare for anyone who loves indoor gardening. One day your fern is happily thriving, and the next, it's wilting and sad. The culprit? Often, it's root rot, which is basically when your plant's roots are sitting in too much water for too long. Left untreated, it can lead to some pretty dismal looking plants.
First things first: Identifying it early is key. Droopy leaves, stunted growth, and a musty smell are dead giveaways. The leaves might yellow or brown, or just fall off completely. Got a bad feeling? Feel the soil. If it’s soggy and the pot doesn’t have proper drainage, you could be looking at root rot.
If you find yourself dealing with this pesky problem, don’t panic. There are ways to turn it around, and you can bring your plants back to life with some TLC and the right moves. So, let’s dive into the remedies and make sure your indoor greens stay healthy and happy.
Spotting Root Rot
The battle against root rot begins with knowing what you’re up against. It’s like solving a mystery — you need to spot the clues before things get worse. The earlier you catch it, the better your chances of saving your beloved indoor plant.
Visible Signs Above Ground
Start with what you can see. Leaves are one of the first indicators. If they’re drooping, yellowing, or seem to be falling off without any obvious reason, it might be more than just thirsty foliage. Check for a musty, almost swampy smell around the plant. Strange, right? But trust us, if your nose picks up on this, be on high alert.
What Lies Beneath
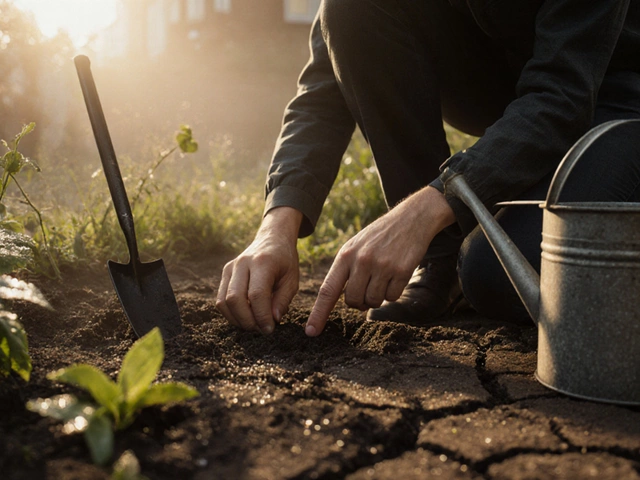
Dive a little deeper. The soil tells tales. Gently feel the top two inches of soil. If it’s constantly soggy, not just damp, there’s a problem brewing below. You might be tempted to water less, but too late for that plan. It’s time to act!
Inspecting the Roots
Gently lift your plant out of its pot. You’re looking for mushy, brown, or black roots. Healthy roots are firm and white. This is where indoor plants reveal their secrets. If you see more dark and mushy roots than healthy ones, it might be time for plant surgery.
A little detective work now saves you from sadness later. These early indicators of root rot help you figure out what’s going wrong before it’s too late. Got some of these? Time to move on to a rescue mission.
Emergency Treatment Options
Alright, so you've got a case of root rot on your hands, but don't lose hope. With some quick action, it's possible to save your beloved indoor plants. Here's what you need to do.
Step 1: Get That Plant Outta There
First, gently remove your plant from its pot. Be careful; the soil might be quite soggy. Shake off as much of the old soil as you can, and try to be gentle with the roots. You don't want to damage them more than they already are.
Step 2: Inspect and Trim
Check the roots closely. Healthy roots are white or tan and firm to the touch. Rotted roots will be mushy and brown or black. It's time to do some pruning. Using sterilized scissors or pruning shears, cut away all the rotted roots. It might feel harsh, but it's necessary for the plant's recovery.
Step 3: Replant in Fresh Soil
Once trimmed, it's time to repot with fresh, well-draining soil. Make sure your new pot has plenty of drainage holes—this is key to avoiding future issues. Repot the plant at the same level it was before, keeping it nice and snug but not cramped.
Step 4: Water Wisely
After repotting, give the plant a light watering. Not too much! The goal is to dampen the soil evenly without soaking it through. A good rule of thumb? Water when the top inch of soil feels dry to the touch.
A Word on Fungicides
If you're up for it, using a fungicide can help prevent the return of root rot. Just be sure to follow the instructions carefully to avoid over-treating your plant.
And if you're ever unsure about how your plant's doing, a little extra research or consulting with a local gardening expert can work wonders. It’s all about getting your green friend back to its prime!
Reviving and Repotting
Once you’ve diagnosed root rot, it's time to roll up your sleeves and get your hands dirty. The steps are straightforward but do require a bit of patience and care. Let’s walk through the process.
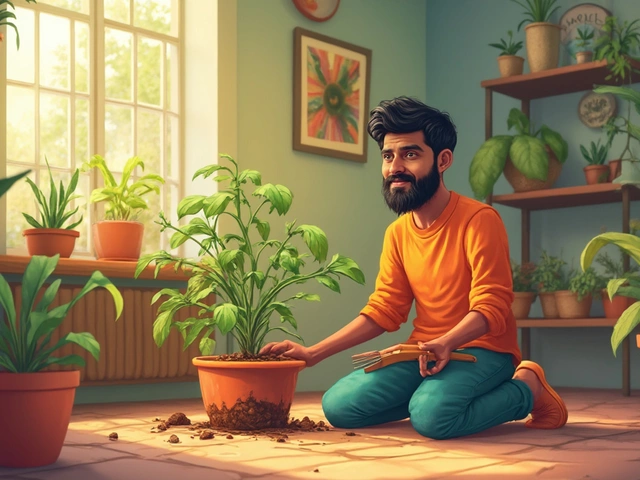
Step 1: Unpotting and Cleaning the Roots
First, gently remove your plant from its current pot. Be careful with this step, as the roots will be delicate. Shake off the excess soil to get a good look at the roots. What you’re looking for are mushy, brown roots — those are the rotters and they need to go.
Step 2: Trimming Away the Damaged Roots
With sterilized scissors or a pruner, cut away all affected roots. It might feel harsh to chop off so much, but trust me, it’s for the best. Only leave healthy, white roots to give your indoor plant the best chance to bounce back.
Step 3: Preparing the New Pot
Select a pot that provides excellent drainage — got an old ceramic pot you love? Just drill a few extra holes in the base. Fill it a third full with fresh potting mix appropriate to your plant type. You might want to add some perlite for better drainage.
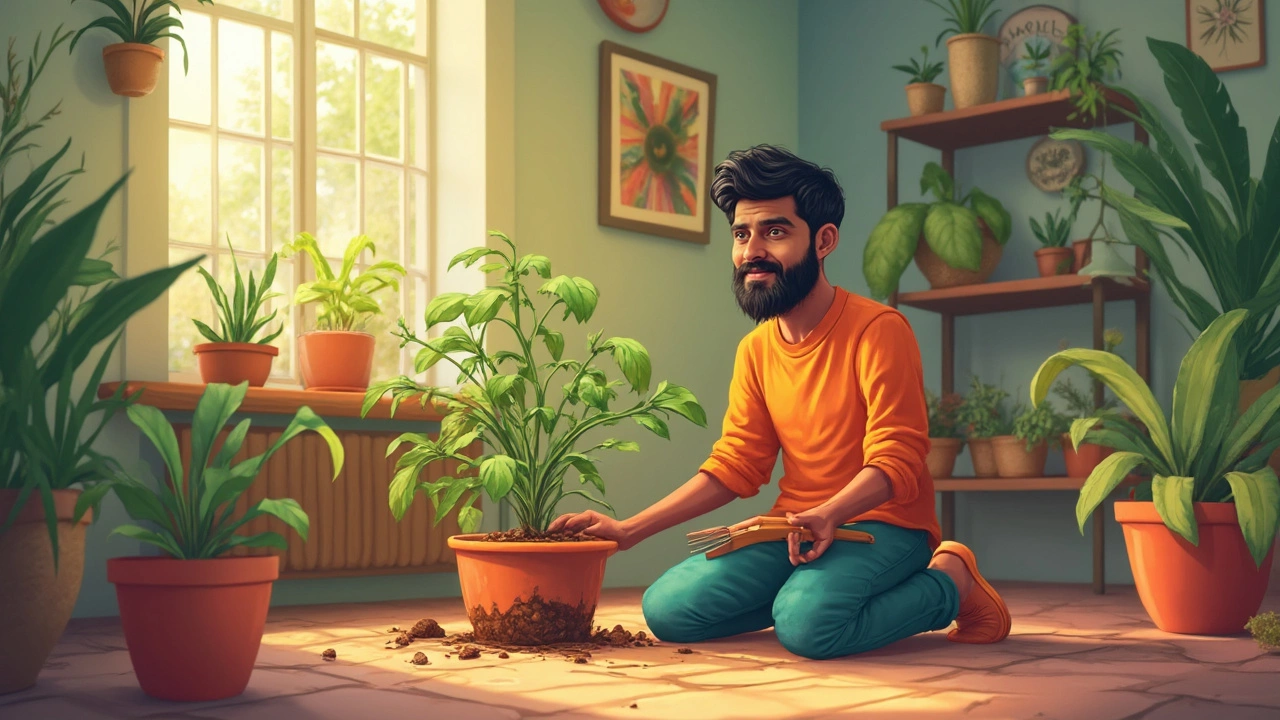
Step 4: Repotting the Patient
Place your plant in the center of the pot and fill it with soil mix up to about an inch from the top. Firm the soil gently around the plant, making sure it's stable, but not packed too tight.
Step 5: Watering Wisely
It’s tempting to douse your plant right away, but hold off. Wait a couple of days so the cut roots can start to heal. When you do water, do so lightly, enough to moisten the soil evenly. Keep an eye on it for the next week. Drainage and drying out slightly between waterings are key to preventing future root rot.
Bonus Tips
Your plant might look a bit rough for a few weeks, but stay patient. Ensuring proper light levels and avoiding overwatering are now top priority. If possible, move the plant to a spot that gets indirect sunlight.
Following these steps can give your plant a fighting chance to recover and thrive once more. Indoor plant care is all about learning from hiccups like these, so next time, preventive measures will hopefully be second nature.
Prevention for Future Success
Preventing root rot is all about being proactive. The aim is to avoid those soggy roots altogether, and there are some straightforward strategies to help you do just that.
Smart Watering Habits
First up, let's talk about watering. It might sound obvious, but not drowning your plants is half the battle. Check if the top inch of the soil is dry before you even think about reaching for the watering can. This is where your finger comes in handy—it's a simple but effective tool.
- Aim for a consistent watering schedule that suits the specific plant species.
- Remember that it's usually better to underwater than overwater if you're unsure.
- Keep an eye out for the season changes; plants need less water in winter.
Choosing the Right Soil and Drainage
The type of soil and proper drainage are big players in avoiding root rot. Go for a well-draining mix; you want one that lets water escape easily. You can even make your own mix with components like perlite, which helps boost drainage.
Make sure the plant pot has adequate drainage holes. It's crucial for excess water to flow out and not sit there causing chaos. You might even consider an extra layer of small rocks or gravel at the bottom for good measure.
Container Matters
Don't forget about the pot itself. Terracotta pots are super breathable and help excess moisture evaporate. If plastic pots are your thing, just make sure they have plenty of drainage holes and you keep a closer eye on watering levels.
Watch the Environment
Your plants are sensitive to their surroundings; they're not fans of extreme changes. Keep them away from cold drafts, and make sure they’re getting enough light—mimicking their natural environment helps reduce stress on the plant.
Take these preventive steps, and you'll minimize the chances of dealing with root rot in the future. Watch your indoor garden flourish, and save yourself the heartache of seeing wilting plants!