Compost Ratio Calculator
Balance Your Compost
Calculate the ideal brown (carbon) to green (nitrogen) ratio for your compost pile. The target ratio is 30:1.
Result
Enter your material volumes to see your ratio
Understanding Your Ratio
For optimal composting, aim for a ratio of 30:1 brown to green materials. This gives microbes the right balance of energy (carbon) and protein (nitrogen) to work efficiently.
Too much green? It can create odors and slow decomposition due to excess nitrogen.
Too much brown? It will slow the process as there's not enough nitrogen to fuel microbial activity.
Ever wondered why some backyard piles turn into black gold while others smell like a failed science experiment? The secret lies in the right mix, the right method, and a bit of patience. Below you’ll find everything you need to craft the homemade compost that feeds your garden, reduces waste, and feels good to watch transform.
Quick Takeaways
- Balance brown and green materials to hit a C/N ratio of 30:1.
- Choose a method that fits your space - hot pile, tumbler, or worm bin.
- Keep moisture like a wrung‑out sponge and temperature between 55‑65 °C for fast breakdown.
- Tackle common issues (odor, pests, slow progress) with simple fixes.
- Use cured compost in garden beds or potting mixes for healthier plants.
What is Homemade Compost?
A blend of organic kitchen scraps, garden waste, and soil microbes that decomposes into nutrient‑rich humus you can spread on plants. It isn’t magic; it’s a living system that needs the right ingredients, oxygen, and moisture. When you get those right, the microbes do the heavy lifting, turning banana peels and dried leaves into a dark, crumbly amendment that improves soil structure and feeds microbes in the ground.
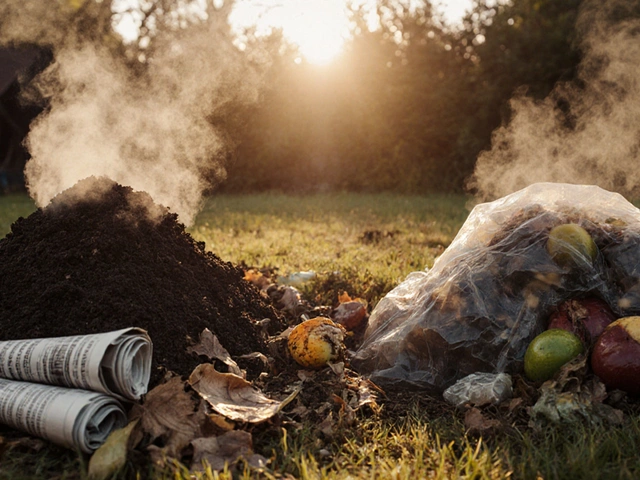
The Building Blocks: Brown & Green Materials
Brown Materials are carbon‑rich sources like dry leaves, straw, shredded newspaper, and cardboard. They provide the energy microbes need to multiply.
Green Materials are nitrogen‑rich scraps such as fruit peels, coffee grounds, fresh grass clippings, and garden trimmings. They speed up the breakdown process.
Aim for roughly three parts brown to one part green by volume. This ratio helps you hit the ideal C/N Ratio - the carbon‑to‑nitrogen balance crucial for fast, odor‑free compost. A target of 30:1 (30 parts carbon to one part nitrogen) works well for most home setups.
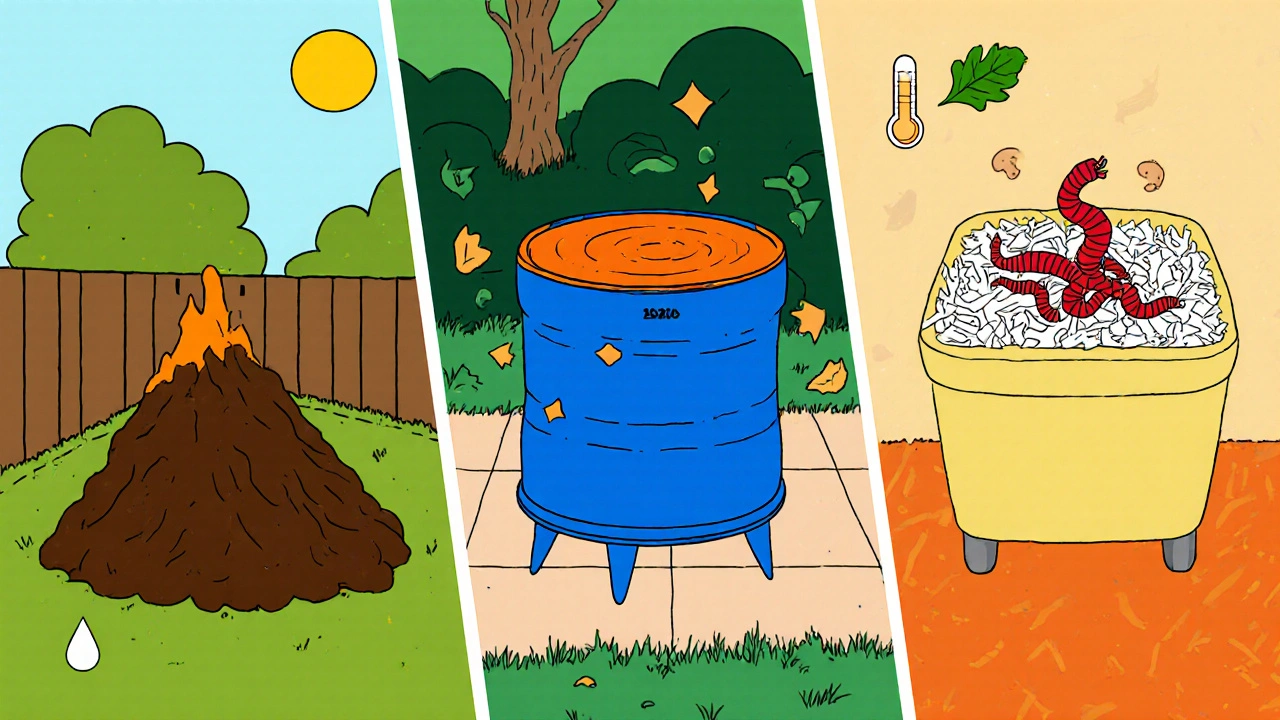
Choosing a Method: Aerobic vs. Worm‑Powered vs. Tumbler
There’s no one‑size‑fits‑all. Your yard, balcony, and time budget will steer the decision. Below is a quick side‑by‑side look.
| Method | Space Needed | Time to Ready | Typical Temperature | Maintenance Level |
|---|---|---|---|---|
| Aerobic Hot Pile | Medium (back‑yard corner) | 2‑3 months | 55‑65 °C | Turn weekly |
| Compost Tumbler | Small (portable) | 1‑2 months | 50‑60 °C | Rotate every 2‑3 days |
| Vermicomposting | Very small (indoor bin) | 3‑4 months | Room temperature (15‑25 °C) | Check moisture weekly |
| Trench Composting | Large (garden beds) | 4‑6 months | Ambient | Minimal |
| Bokashi (fermentation) | Small (plastic bucket) | 2‑3 weeks + 2‑3 months burial | Low (no heat) | Press daily |
If you have a backyard, the aerobic hot pile or a tumbler gives the fastest results. Apartment dwellers often lean toward vermicomposting or bokashi because they need little space and no turning.
Step‑by‑Step Guide to the Fastest Home Compost (Aerobic Hot Pile)
- Select a spot. Choose a well‑drained area with some sun. The sun helps keep the pile warm.
- Build a base. Lay a 5‑cm layer of coarse brown material (small branches, straw). This promotes airflow.
- Add your mix. Alternate layers of green and brown materials. Aim for that 3:1 volume ratio.
- Moisten. Sprinkle water as you layer. The pile should feel like a wrung‑out sponge - damp but not soggy.
- Cover. Use a breathable tarp or old pallet to protect from rain while allowing air in.
- Turn weekly. With a garden fork, flip the outer sections toward the center. This redistributes heat and oxygen.
- Monitor heat. Insert a Compost Thermometer to check temperature. When it stays between 55‑65 °C for several days, microbes are hard at work.
- Watch for cues. No foul smell, just a pleasant earthy scent. If it gets too wet, add more brown material; if too dry, spray water.
- Harvest. After 2‑3 months, the interior should be dark, crumbly, and smell like forest floor. Sift out any large bits and let them decompose further.
That’s the core recipe. Adjust the volume of each layer based on what you throw away; the ratios will self‑balance over time.
Monitoring & Troubleshooting
Even a well‑planned pile can hit snags. Here’s how to fix common problems.
- Odor problems? Too much green material or not enough air. Add more brown, turn more often.
- Pile not heating? It may be too small or too dry. Add extra greens and a bit of water, then give it a good turn.
- Fruit flies or pests? Bury food scraps under a thick brown layer. A closed lid for a tumbler works well.
- Leachate (liquid runoff)? Ensure the base is raised and the pile isn’t soggy. Collect leachate for use as a mild fertilizer - just dilute 1:10 with water.
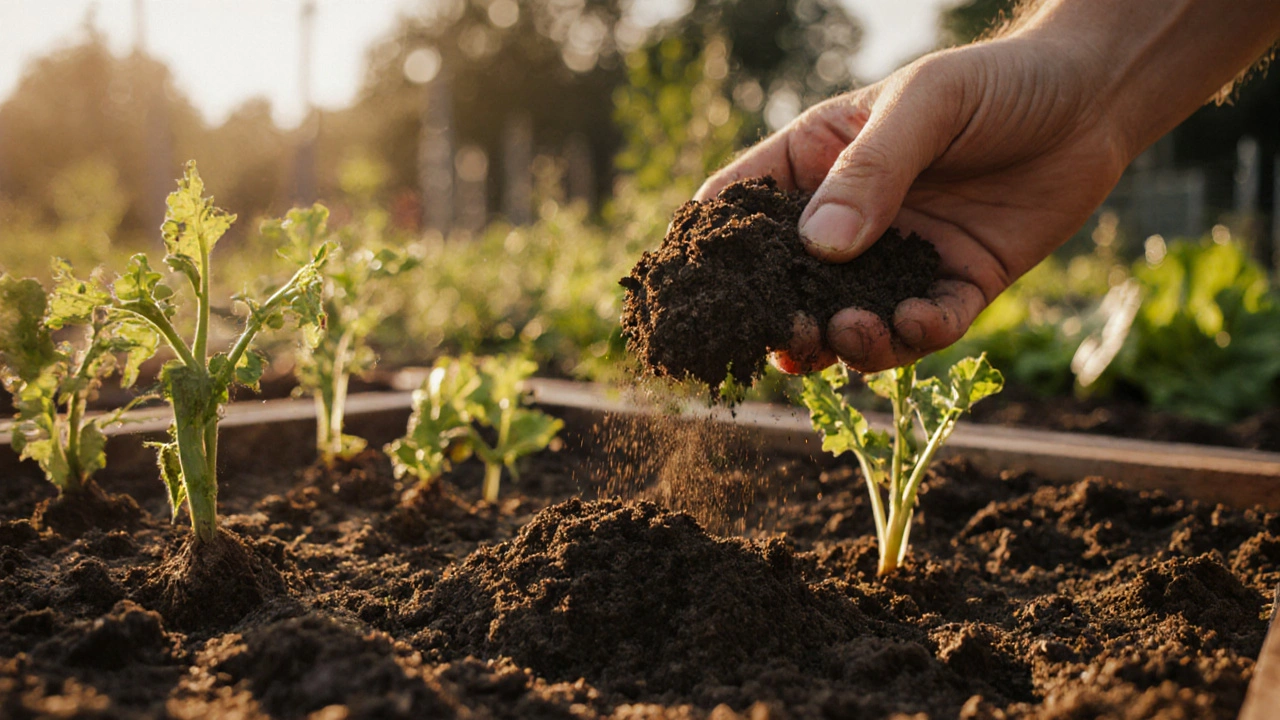
Using Your Finished Compost
Before you dump it straight onto plants, let the compost “cure” for about two weeks. This lets any remaining microbes finish their work and stabilises the nutrient release.
Spread a 2‑3 cm layer over garden beds, mix into potting soil, or use as a top‑dressing for potted plants. Your soil will retain moisture longer, improve structure, and supply a slow‑release buffet of nutrients.
Pro Tips & Common Mistakes to Avoid
- Don’t add meat or dairy. They attract pests and slow the process.
- Shred large items. Smaller pieces increase surface area, speeding decomposition.
- Mind the pH. A slightly acidic to neutral pile (pH 6‑7) works best. Add a handful of garden lime if it becomes too acidic.
- Use a compost starter. A handful of garden soil or finished compost introduces the right microbes at the beginning.
- Rotate methods. If space permits, try a small vermicompost bin for kitchen scraps while maintaining a hot pile for yard waste.
Frequently Asked Questions
How long does homemade compost take to be ready?
A well‑managed hot pile can produce usable compost in 2‑3 months. Cooler methods like vermicomposting or trench composting may need 4‑6 months.
Can I compost dairy or meat at home?
Generally avoid dairy, meat, and oily foods. They attract pests and can create unpleasant odors. Stick to fruit, veg, coffee grounds, and garden waste.
What’s the difference between a compost tumbler and a hot pile?
A tumbler is a sealed, rotating drum that speeds up decomposition through frequent mixing. A hot pile is an open heap that relies on manual turning. Tumbler works well in small spaces, while a hot pile can handle larger volumes.
How do I know if my compost is too wet or too dry?
Squeeze a handful of material. It should release a few drops of water but retain its shape. No drops means it’s dry; a soggy, dripping mass means it’s too wet - add more brown material and turn.
Is it okay to add garden weeds to my compost?
Yes, as long as the weeds haven’t gone to seed. If they have, compost may not get hot enough to kill the seeds, potentially spreading them later.
With the right mix, a bit of turning, and a watchful eye on moisture and temperature, your homemade compost will become the secret sauce for a thriving garden. Happy composting!