Garden Fertilizer Calculator
Customize Your Fertilizer Recipe
Calculate exact amounts for homemade fertilizers based on your garden needs.
Your Custom Fertilizer Plan
Pro Tip: Always apply homemade fertilizers during cooler hours (morning/evening) to prevent leaf burn. Use filtered water for best results.
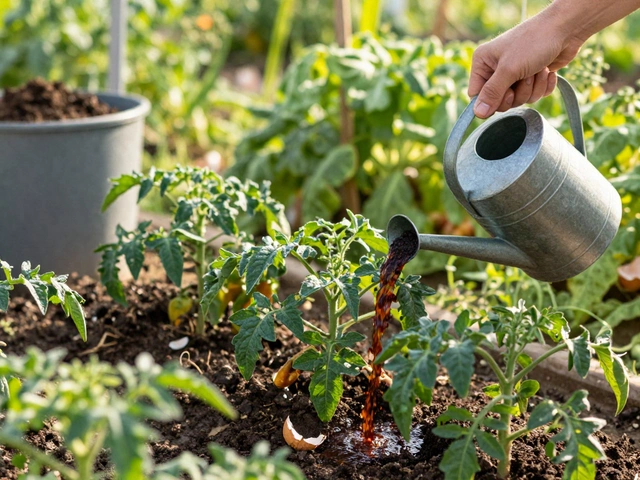
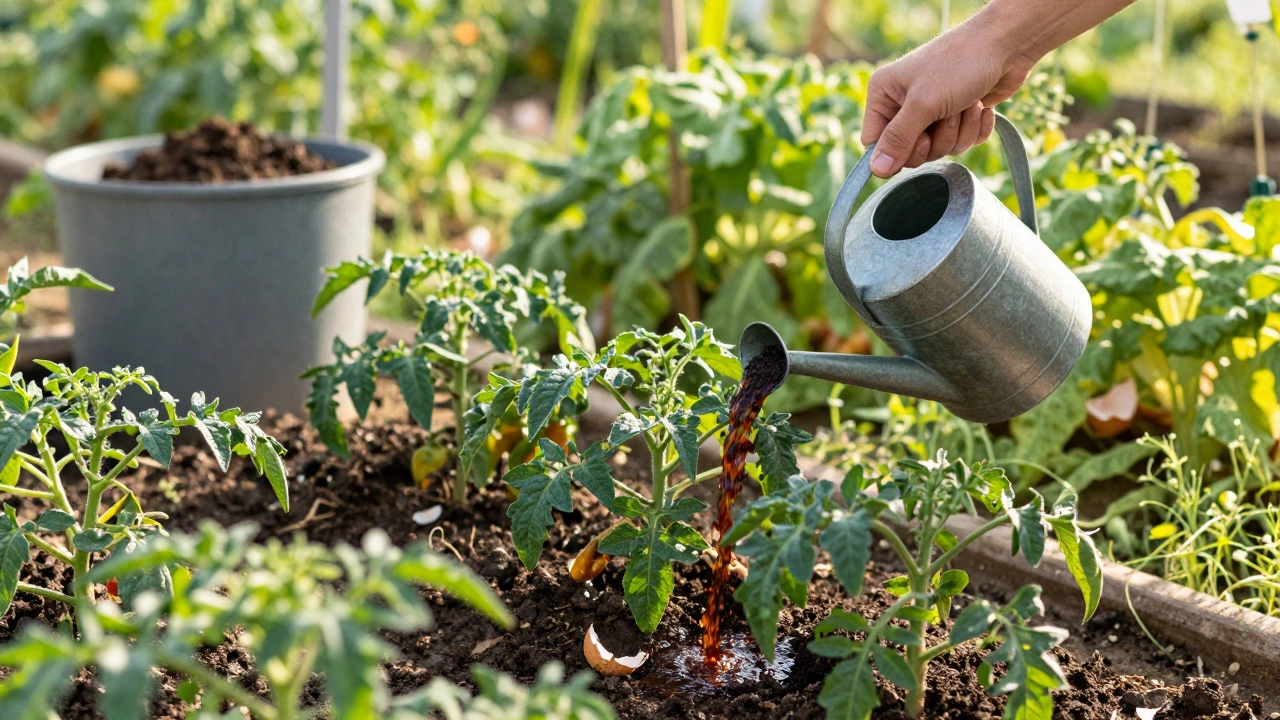
When you’re growing vegetables, your plants don’t care about expensive store-bought bags labeled "organic" or "premium." What they need is nutrients-the right mix, at the right time. And the best part? You can make powerful, effective fertilizer at home using things you already have lying around. No chemicals. No plastic packaging. Just food scraps, old coffee grounds, and a little patience.
Why Homemade Fertilizer Beats Store-Bought
Most commercial fertilizers give you a quick green-up, but they don’t improve your soil. They’re like giving your plants a sugar rush-fast energy, then a crash. Homemade fertilizers work differently. They feed the soil microbes first. Those microbes break down organic matter and slowly release nutrients your vegetables can use. The result? Stronger roots, better disease resistance, and tastier produce.
Take tomatoes, for example. A study from the University of California found that tomatoes grown in soil amended with composted kitchen waste had 23% higher yields than those fed synthetic NPK fertilizer. And the fruit? More sugar, more flavor. That’s not magic. That’s biology.
Top 5 Homemade Fertilizers That Actually Work
Not all kitchen scraps are created equal. Some work better than others. Here are the five most effective homemade fertilizers for vegetable gardens, backed by real results and years of trial-and-error.
1. Compost Tea
Compost tea is liquid gold for your garden. Make it by filling a bucket with finished compost-about one part compost to five parts water. Let it sit for 3-5 days, stirring daily. Strain out the solids with a cheesecloth or old t-shirt. Use the dark, earthy liquid as a foliar spray or pour it around the base of plants.
It’s rich in beneficial bacteria and fungi. Plants absorb nutrients through their leaves when you spray it, and the microbes help unlock phosphorus and nitrogen already in the soil. Use it every 2-3 weeks during the growing season. Your lettuce will thank you.
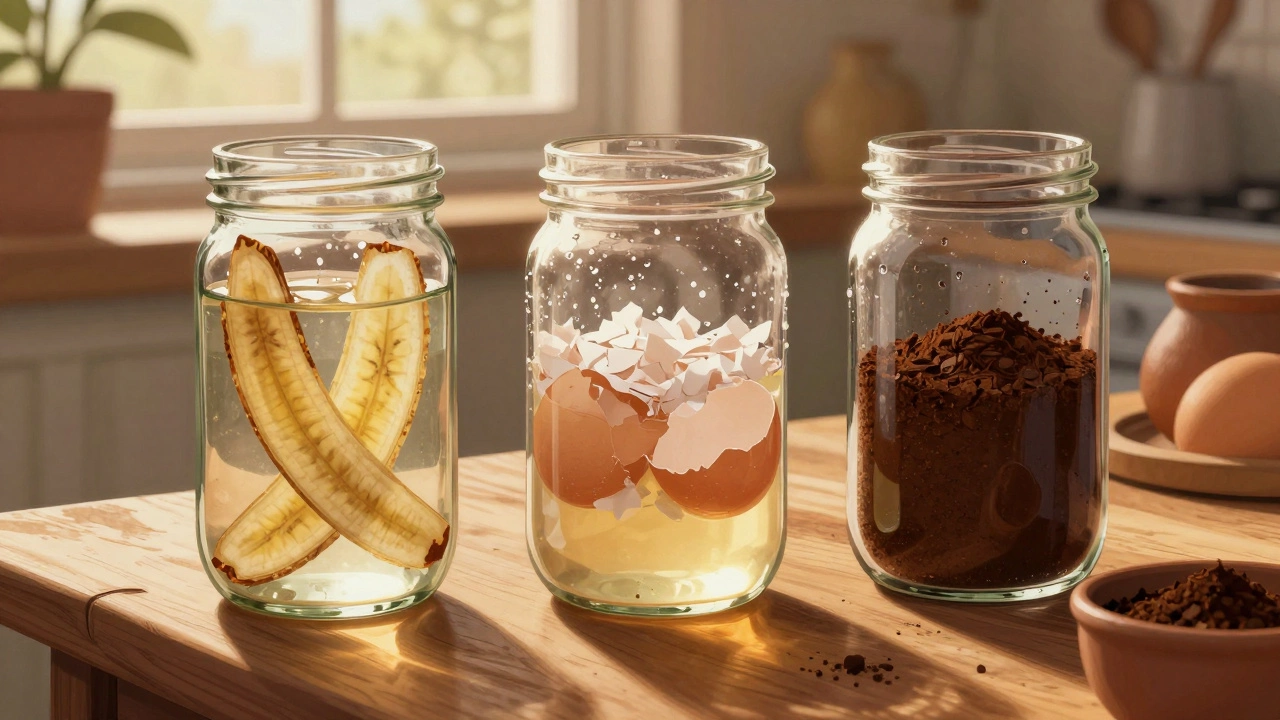
2. Banana Peel Water
Bananas are packed with potassium, which helps plants flower and fruit. Chop up three peels, soak them in a liter of water for 48 hours. Remove the peels and use the water to water your tomatoes, peppers, or cucumbers.
Don’t just dump the peels in the soil. They decompose too slowly and can attract flies. The water method gives you a fast, usable dose of potassium. Use it once a week during flowering. You’ll notice thicker stems and more fruit set.
3. Eggshell Calcium Spray
Calcium prevents blossom end rot in tomatoes, squash, and peppers. Crush 10-12 clean, dry eggshells into a fine powder. Mix with a cup of white vinegar. Let it sit for 24 hours-the vinegar dissolves the calcium carbonate. Then dilute with a gallon of water.
Spray this on the leaves and soil around your plants every 10 days. It’s not a quick fix, but over time, it stops rot before it starts. This trick works especially well in sandy soils, where calcium leaches out fast.
4. Coffee Grounds for Acid-Loving Plants
Coffee grounds are great for blueberries, radishes, carrots, and potatoes. They add nitrogen and slightly lower soil pH. Sprinkle a thin layer (no more than half an inch) around the base of plants. Don’t pack it down-keep it loose so water can flow through.
Used grounds are close to neutral, but fresh grounds are more acidic. If you’re unsure, test your soil pH first. If it’s above 6.5, coffee grounds help. If it’s already below 6.0, skip them. Too much acidity can lock up nutrients.
5. Grass Clipping Mulch
Don’t bag your lawn clippings. Spread a 2-inch layer around your vegetable plants. It’s free, it’s rich in nitrogen, and it holds moisture. Just make sure the grass hasn’t been treated with herbicides or weed killers. If your neighbor sprays, don’t use their clippings.
Grass clippings break down in 2-4 weeks, releasing nitrogen slowly. They also keep weeds down and cool the soil in summer. Combine this with compost for best results.
What Not to Use
Not everything from your kitchen is garden-safe. Avoid these:
- Meat, dairy, and oily foods-they attract pests and rot without breaking down properly.
- Charcoal ash-it can raise soil pH too high and contains harmful heavy metals.
- Human or pet waste-risk of pathogens. Even composted, it’s not safe for food crops.
- Too much citrus-over time, it makes soil too acidic for most vegetables.
Stick to plant-based scraps. That’s where the real nutrients live.
When and How to Apply
Timing matters. Fertilizer isn’t a one-time fix. Here’s a simple schedule:
- At planting time: Mix compost into the soil before you put in seedlings.
- 2-3 weeks after planting: Apply compost tea or banana peel water around the base.
- During flowering: Use eggshell spray for calcium, coffee grounds for nitrogen.
- Mid-season: Add grass clipping mulch to retain moisture and feed slowly.
Less is more. Over-fertilizing burns roots. If your leaves turn yellow or curl, you’ve gone too far. Stop feeding for a week and water deeply to flush out excess salts.
Soil Testing: The Missing Step
You don’t need a lab test every season, but knowing your soil’s pH and nutrient levels helps. A simple home test kit (under £15) tells you if your soil is acidic, alkaline, or balanced. Most vegetables like a pH between 6.0 and 7.0.
If your soil is too acidic (below 6.0), add crushed eggshells or wood ash. If it’s too alkaline (above 7.5), use coffee grounds or pine needles. Homemade fertilizers work best when they match your soil’s needs.

Real Results: A Brighton Garden Story
Last spring, a neighbor in Brighton switched from synthetic fertilizer to homemade compost tea and eggshell spray. Her tomato plants were the first to fruit. She got 17 pounds of heirloom tomatoes off three plants. The ones from last year? Maybe 8 pounds. She didn’t change the variety. She didn’t change the sun. She just changed how she fed the soil.
That’s the power of feeding the dirt, not just the plant.
Final Tip: Build a Routine
The best fertilizer system isn’t fancy. It’s consistent. Keep a small bin under your sink for veggie scraps. Add coffee grounds, eggshells, and tea bags. Let it sit for a week. Then mix it into compost or steep it in water. Do this every week. In 3 months, you’ll have rich, dark compost-and you’ll never buy fertilizer again.
Can I use only one type of homemade fertilizer, or should I rotate them?
Rotate them. Each one gives different nutrients. Compost tea adds microbes, banana peels give potassium, eggshells add calcium, coffee grounds supply nitrogen, and grass clippings help with moisture and slow-release nutrients. Using just one means your plants miss out on key elements. Think of it like eating only rice every day-you’ll get hungry. Plants need variety too.
How long does homemade fertilizer last?
Liquid fertilizers like compost tea or banana peel water should be used within 24 hours after making them. The beneficial microbes die quickly without oxygen. Dry fertilizers like crushed eggshells or coffee grounds can be stored in a sealed container for months. Just keep them dry. Moisture turns them into mold.
Is homemade fertilizer safe for kids and pets?
Yes, as long as you avoid meat, dairy, or pet waste. All the fertilizers listed here are non-toxic. But don’t let pets dig into freshly applied coffee grounds or grass clippings-they might get a stomach upset. Keep the application area clear for a day or two. Once it’s worked into the soil, it’s completely safe.
Can I use homemade fertilizer on container vegetables?
Absolutely. In fact, container plants need more frequent feeding because nutrients wash out faster with watering. Use diluted compost tea every 10 days. Add a teaspoon of crushed eggshells to the topsoil monthly. And always top-dress with a thin layer of grass clippings to reduce evaporation. Container gardening with homemade fertilizer works better than store-bought in most cases.
Why isn’t my homemade fertilizer working?
Three common reasons: 1) You’re using too much at once. Start with half the amount you think you need. 2) Your soil is too compacted. Fertilizer can’t reach roots if the soil is hard. Loosen it with a fork. 3) You’re not feeding the microbes. All these fertilizers need time to break down. Give them 2-4 weeks before expecting results. Patience beats speed.
If you’ve been relying on store-bought fertilizer, try switching to one of these homemade options this season. Start with compost tea-it’s the easiest, safest, and most effective. In a few weeks, you’ll see the difference not just in your plants, but in your wallet and your peace of mind.