Drip Irrigation Cost & Savings Estimator
Enter your project details below to calculate estimated costs and potential annual savings compared to traditional sprinklers.
Project Details
Estimated Financial Impact
Here’s the thing about drip irrigation: it saves you money on your water bill for years, but that upfront price tag can make your eyes widen. If you’re staring at a quote or a shopping cart full of tubing and emitters, you’re probably wondering if you’re getting ripped off or if this is just how much efficient watering costs. The short answer? It depends entirely on who holds the shovel (or the punch tool) and how big your garden bed is.
In 2026, the average cost to install a basic drip irrigation system ranges from $1.50 to $3.00 per square foot for professional installation, while DIY kits often land between $0.50 and $1.00 per square foot. But those averages hide a lot of variables. A simple vegetable patch setup might cost you under $100, whereas a complex landscape with zones and smart controllers could easily hit $2,000 or more. Let’s break down exactly where your money goes so you can decide if doing it yourself is worth the sweat equity.
The Real Price Breakdown: Components vs. Labor
When you look at an invoice, it’s rarely one line item saying "Water System." It’s usually split into materials and labor. Understanding this split helps you spot where you can save.
Drip Emitters are the heart of the system. These little plastic guys regulate flow. Basic button drippers cost pennies-often $0.10 to $0.25 each. Pressure-compensating emitters, which deliver the same amount of water whether they’re uphill or downhill, run higher, around $0.50 to $1.00 each. If you have a sloped yard, don’t cheap out here; non-pressure-compensated lines will leave your hilltop plants thirsty and your valley plants drowning.
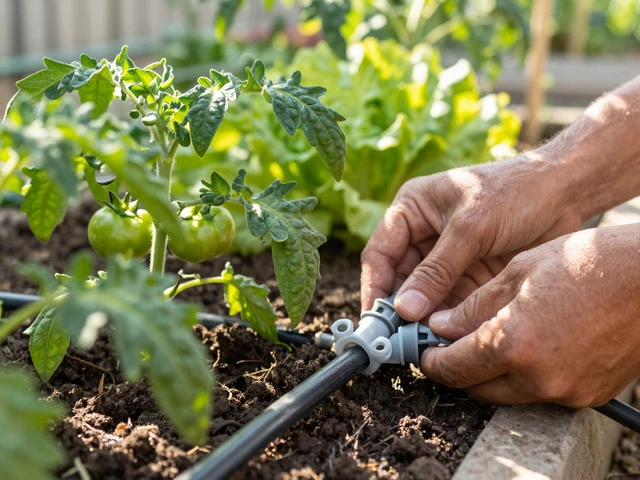
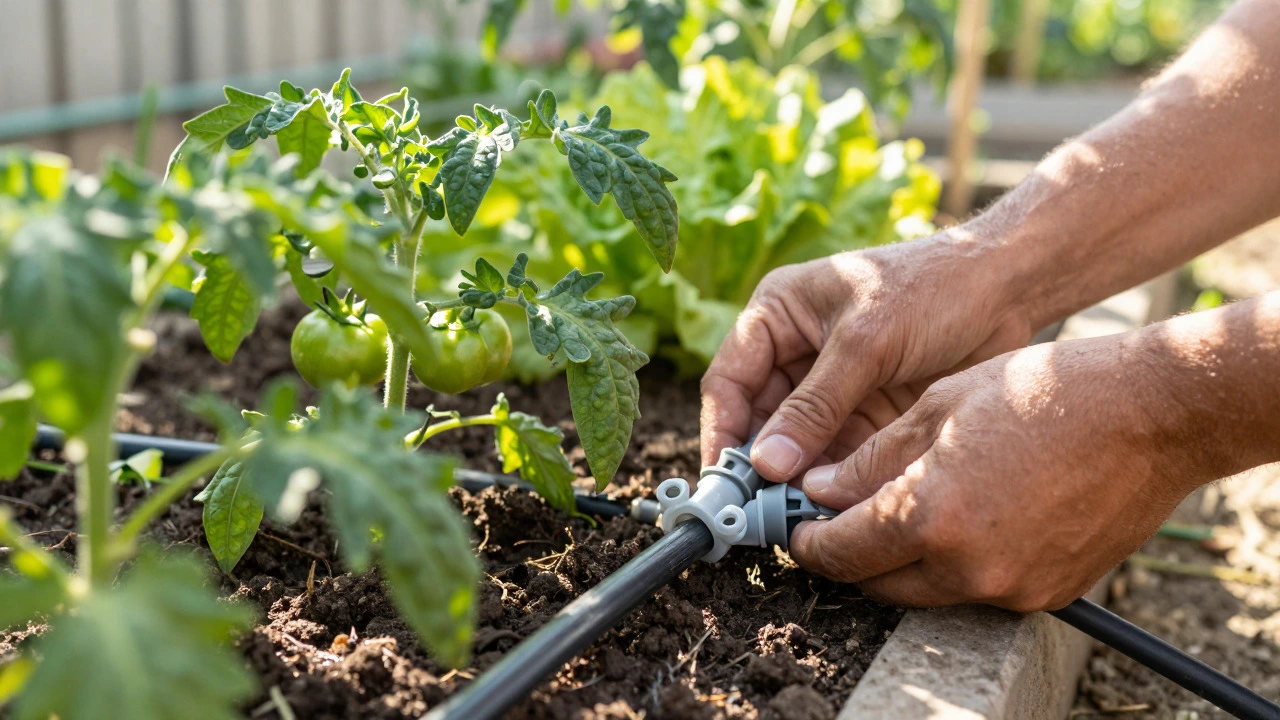
Tubing and Fittings add up faster than you think. Mainline tubing (usually ½ inch or ¾ inch polyethylene) costs about $0.10 to $0.30 per foot. Micro-tubing (¼ inch), which connects the mainline to individual plants, is even cheaper per foot but requires more fittings. Every elbow, tee, and hole punch adds up. For a standard 4x8 raised bed, you might spend $15-$25 just on parts. Multiply that by ten beds, and suddenly the "cheap" kit isn’t so cheap.
Labor is the biggest swing factor. Professional landscapers charge between $50 and $150 per hour. Why such a range? Complexity. Running straight lines along a fence is fast. Weaving tubing through established rose bushes or hiding lines under mulch takes time. Many pros also charge a minimum call-out fee, often $100-$200, meaning small jobs get expensive quickly.
DIY vs. Professional Installation: Is It Worth It?
You can buy a starter kit at any home improvement store for $30-$50. This usually includes enough tubing for a small patio container garden. But as soon as you move beyond pots, the complexity spikes. Here’s a quick comparison to help you decide.
| Factor | DIY Approach | Professional Installation |
|---|---|---|
| Average Cost (Small Garden) | $50 - $150 | $300 - $600 |
| Average Cost (Large Landscape) | $500 - $1,200 | $1,500 - $3,000+ |
| Time Investment | High (Weekends + Learning Curve) | Low (Done in 1-2 Days) |
| Design Quality | Risk of poor zoning/pressure issues | Optimized flow and coverage |
| Warranty | Manufacturer only (parts) | Parts + Labor guarantee |
If you’re handy with a PVC cutter and enjoy puzzles, DIY is incredibly satisfying. You control every inch of tubing. Plus, fixing a leak later is easy because you know exactly where you put the emitter. However, if your property has multiple zones, weird slopes, or high water pressure requiring regulators, hiring a pro prevents headaches. A poorly designed system that leaks or clogs frequently ends up costing more in repairs and wasted water than a properly installed one.
Hidden Costs That Surprise Homeowners
The sticker price of the tubing doesn’t tell the whole story. Several "invisible" components are critical for a system that actually works.
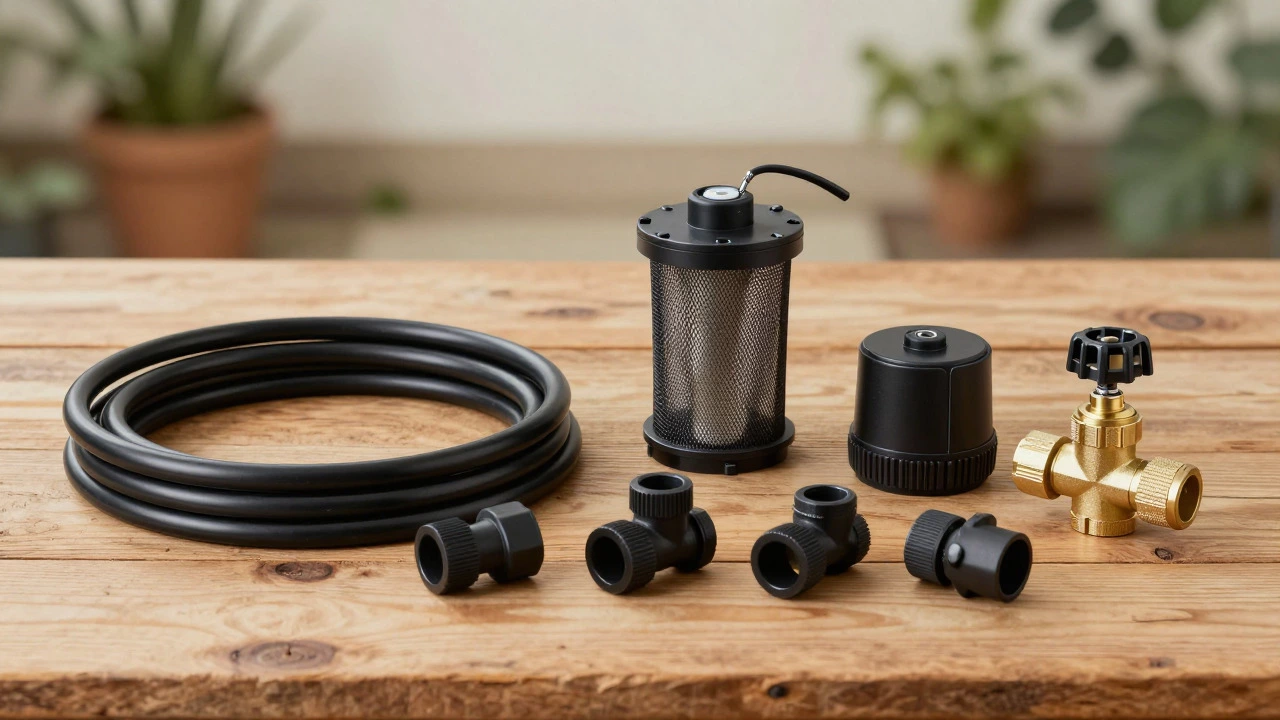
Backflow Preventers are legally required in many municipalities to stop contaminated garden water from sucking back into your drinking supply. Depending on local codes, this device can cost $20 for a simple vacuum breaker or $100+ for a check valve assembly. Check your local building department before you start digging trenches.
Filtration Units are non-negotiable. Drip emitters have tiny holes. One grain of sand can block them forever. A basic mesh filter costs $10-$20, but if you’re on well water, you might need a disc filter or sand separator costing $50-$150. Skipping filtration is the number one reason DIY systems fail within a year.
Don’t forget the Timer/Controller. Manual watering defeats the purpose of automation. A simple battery-operated hose timer starts at $25. Smart Wi-Fi controllers, which let you adjust schedules from your phone and integrate with weather data, range from $70 to $200+. While optional, they pay for themselves in water savings and plant health.
How Size and Layout Impact Your Bill
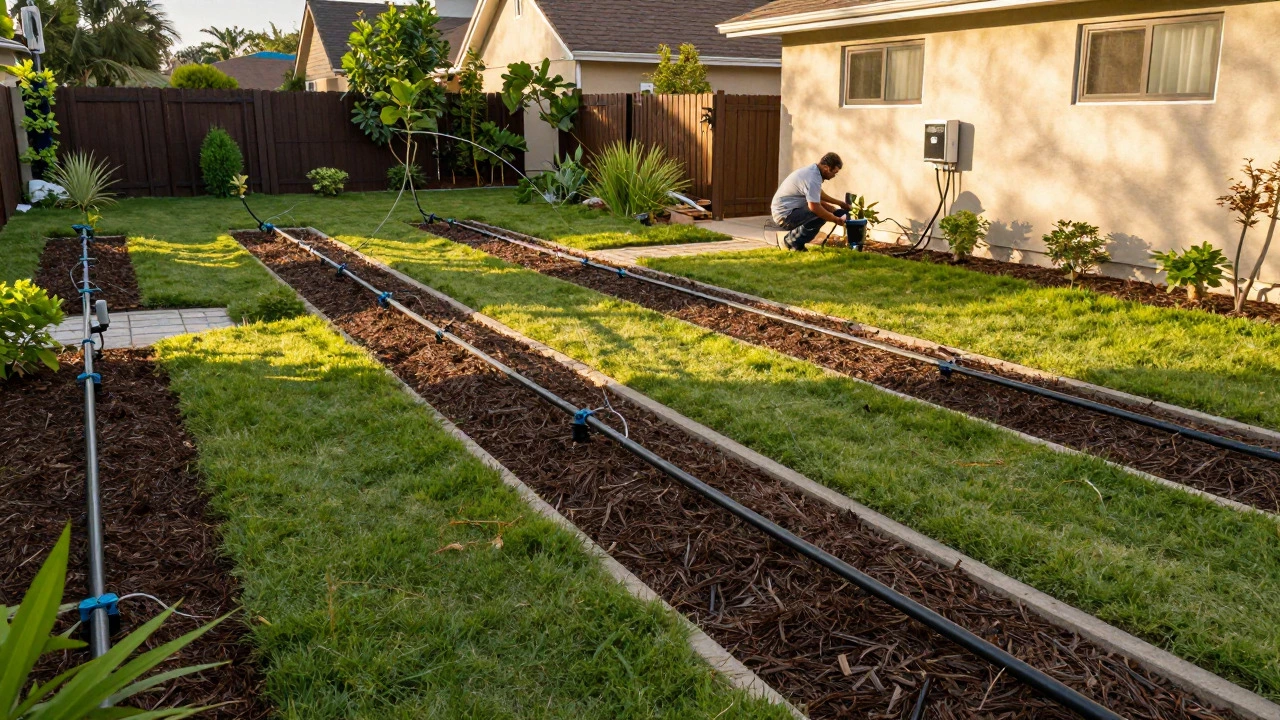
Geometry matters more than you’d expect. Long, narrow runs of tubing create friction loss, meaning water pressure drops by the time it reaches the end of the line. To fix this, you either use larger diameter pipe (more expensive) or add pressure compensating emitters (also more expensive).
Consider a typical vegetable garden layout. If you have six 4x8 raised beds arranged in two rows of three, you might run one mainline down the center with micro-tubes branching off. This is efficient. Now imagine that same garden scattered across a large lawn. You now need long mainlines buried underground, requiring trenching tools or manual digging. Trenching equipment rental can add $50-$100 to the project, or several hours of hard labor.
Container gardens are another beast. They require frequent repositioning. Using adjustable micro-sprinklers or movable emitters costs slightly more per unit but saves you from rebuilding the system every time you rotate crops. Factor in replacement parts for containers; they get knocked over, stepped on, and chewed by pets. Budget an extra 10% for spares.
Maintenance: The Ongoing Cost
Buying the system is step one. Keeping it alive is step two. Drip irrigation is low maintenance, but not zero maintenance.
- Flushing: Twice a year, you open the end caps and let water rush through to clear sediment. Free, but takes time.
- Cleaning Filters: Monthly during peak season. Rinse the screen under a faucet. Five minutes.
- Replacing Emitters: Sunlight degrades plastic. UV-resistant tubing lasts longer, but emitters may crack after 3-5 years. Replacement packs cost $10-$20.
- Winterizing: In freeze-prone areas, you must blow out the lines with compressed air or disconnect and drain everything. This prevents burst pipes. Hiring someone to do this costs $50-$100 per visit.
Ignoring maintenance leads to clogged lines and dead plants. Replanting dead shrubs costs way more than flushing a filter. Set a reminder in your phone for quarterly checks.
Regional Differences in Pricing
Where you live changes the math. In arid regions like Arizona or California, demand for irrigation services is high, driving up labor rates. Conversely, competition is fierce, which can lower material markups. In wetter climates like the Pacific Northwest, fewer people install drip systems, so finding a specialist might take longer, and prices may be higher due to scarcity of expertise.
Water utility rebates can offset costs significantly. Many cities offer $100-$500 rebates for converting sprinkler heads to drip irrigation. Check your local water district website. Some utilities even provide free audits or loaner equipment. Always ask about permits too; some HOAs require approval for visible irrigation changes.
Final Verdict: When to Spend More
Should you go premium? Yes, if you have valuable plants, difficult terrain, or no time for troubleshooting. Investing in brand-name components like Rain Bird or Hunter ensures better durability and easier access to replacement parts. Cheap, no-name tubing often becomes brittle after one summer of sun exposure.
On the flip side, if you’re just starting with a few tomato plants in buckets, grab a $40 kit from the hardware store. Learn the basics. Once you understand how pressure and flow work, you can expand intelligently. Drip irrigation is scalable. Start small, succeed, then grow.
How much does it cost to install drip irrigation for a 1000 sq ft lawn?
For a 1000 sq ft area, expect to pay $1,500 to $3,000 for professional installation. This includes mainlines, lateral lines, emitters, filters, and labor. DIY costs would drop to approximately $500-$800 for materials alone, assuming you already have basic tools.
Is drip irrigation cheaper than sprinklers?
Installation costs for drip are often similar to or slightly higher than traditional sprinklers. However, operational costs are significantly lower. Drip systems use 30-50% less water, reducing monthly bills. Over 3-5 years, the water savings typically recoup the initial installation difference.
Do I need a plumber to install drip irrigation?
Not necessarily. Most homeowners can install drip systems themselves using simple push-fit connectors. However, if you need to tap into a new water line, install a backflow preventer that requires soldering, or deal with complex electrical wiring for valves, hiring a licensed plumber or irrigation specialist is recommended to ensure code compliance.
How long do drip irrigation systems last?
With proper maintenance, quality drip irrigation tubing lasts 5-7 years. Underground mainlines can last 10-20 years. Emitters and fittings may need replacing sooner, especially if exposed to direct sunlight. UV-resistant materials extend lifespan significantly.
Can I convert my existing sprinkler system to drip?
Yes, this is a common retrofit. You can attach drip conversion kits to existing pop-up sprinkler heads. This allows you to keep the main piping and valves while adding drip lines for specific planting beds. It’s often cheaper than installing a completely new system from scratch.