Compost C:N Ratio Calculator
Compost Calculator
Calculate the carbon-to-nitrogen ratio of your compost mixture to ensure optimal decomposition. The ideal ratio is 30 parts carbon to 1 part nitrogen.
Your Compost Ratio
How to Use
1. Measure your materials
Enter the volume of brown (carbon-rich) materials and green (nitrogen-rich) materials in cups or ounces.
2. Click Calculate
See the resulting carbon-to-nitrogen ratio and receive guidance on whether your mix needs adjustment.
3. Adjust your pile
Follow the advice below to get your ratio within the ideal range for faster decomposition.
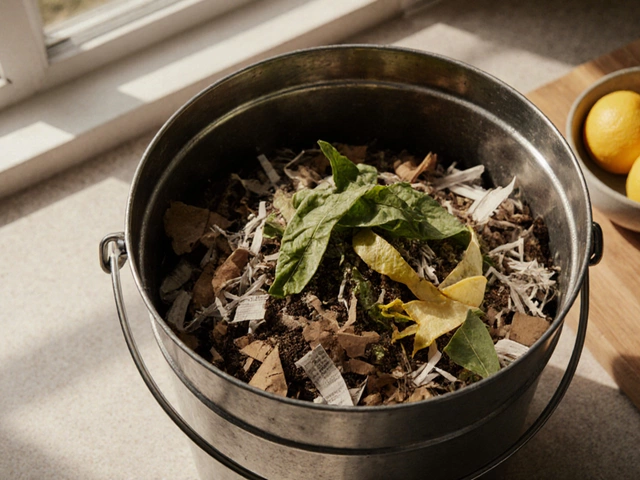
Ever stared at a kitchen scrap bin and wondered why your compost never seemed to work? The secret isn’t magic - it’s getting the right mix of four basic ingredients. Nail those, and you’ll turn veg scraps, leaf litter, and coffee grounds into dark, crumbly soil that feeds your garden all year long.
What is Compost, Really?
Compost is a decomposed organic material that improves soil structure, moisture retention, and nutrient availability. It forms when microorganisms break down organic matter in the presence of air, water, and the right carbon‑to‑nitrogen balance. In other words, compost is nature’s recycling program, and you’re the manager.
The Four Core Ingredients
Good composting revolves around a simple equation: Carbon + Nitrogen + Oxygen + Moisture = Compost. Let’s unpack each component.
1. Carbon‑Rich (Brown) Materials
Carbon is the fuel that feeds the microbes. Think of it as the “blanket” that keeps the pile warm and airy.
- Dry leaves, shredded newspaper, cardboard (no glossy coating)
- Straw, sawdust, wood chips (small pieces only)
- Dead stems, pine needles (in moderation)
These items are called “brown” because they’re typically brown in color and high in carbon, with a C:N ratio ranging from 30:1 to 80:1.
2. Nitrogen‑Rich (Green) Materials
Nitrogen provides the protein that microbes need to multiply. It’s the “energy drink” for the compost crew.
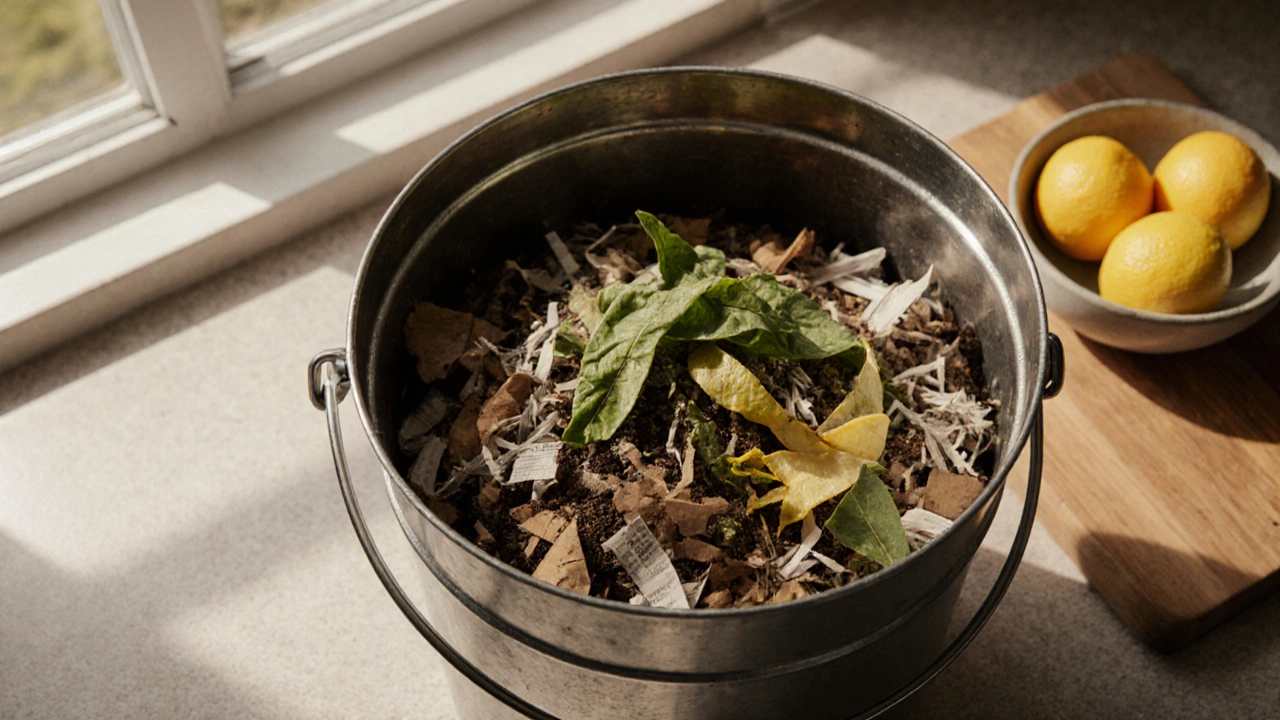
- Fresh kitchen scraps: vegetable peels, fruit skins, coffee grounds
- Grass clippings (fresh, not thatched)
- Green leaves, herb trimmings, garden weeds (must be weed‑free)
Green materials have a C:N ratio of roughly 15:1 to 25:1, supplying the nitrogen microbes crave.
3. Oxygen (Air)
Microbes breathe oxygen to turn organic matter into stable humus. Without enough air, the pile turns anaerobic, smells like rotten eggs, and slows down.
Achieve good airflow by layering browns and greens, keeping the pile fluffy, and turning it regularly.
4. Moisture
Water is the medium that carries nutrients to microbes. The ideal moisture level feels like a wrung‑out sponge - damp but not dripping.
If the pile is too dry, decomposition stalls; too wet, it becomes soggy and smelly. A quick squeeze test every week keeps you on track.
Balancing Carbon and Nitrogen: The 30:1 Rule
Getting the right carbon‑to‑nitrogen (C:N) ratio is the heart of a healthy compost heap. A rule‑of‑thumb ratio of 30 parts carbon to 1 part nitrogen works for most backyard setups.
| Ingredient | Type | C:N Ratio |
|---|---|---|
| Dry leaves | Brown | 60:1 |
| Shredded newspaper | Brown | 80:1 |
| Straw | Brown | 50:1 |
| Kitchen vegetable scraps | Green | 15:1 |
| Grass clippings | Green | 20:1 |
| Coffee grounds | Green | 20:1 |
To hit the 30:1 target, stack about three parts brown to one part green by volume. If you notice the pile staying cold or taking forever, add more greens. If it smells “rotten”, add more browns and turn it.
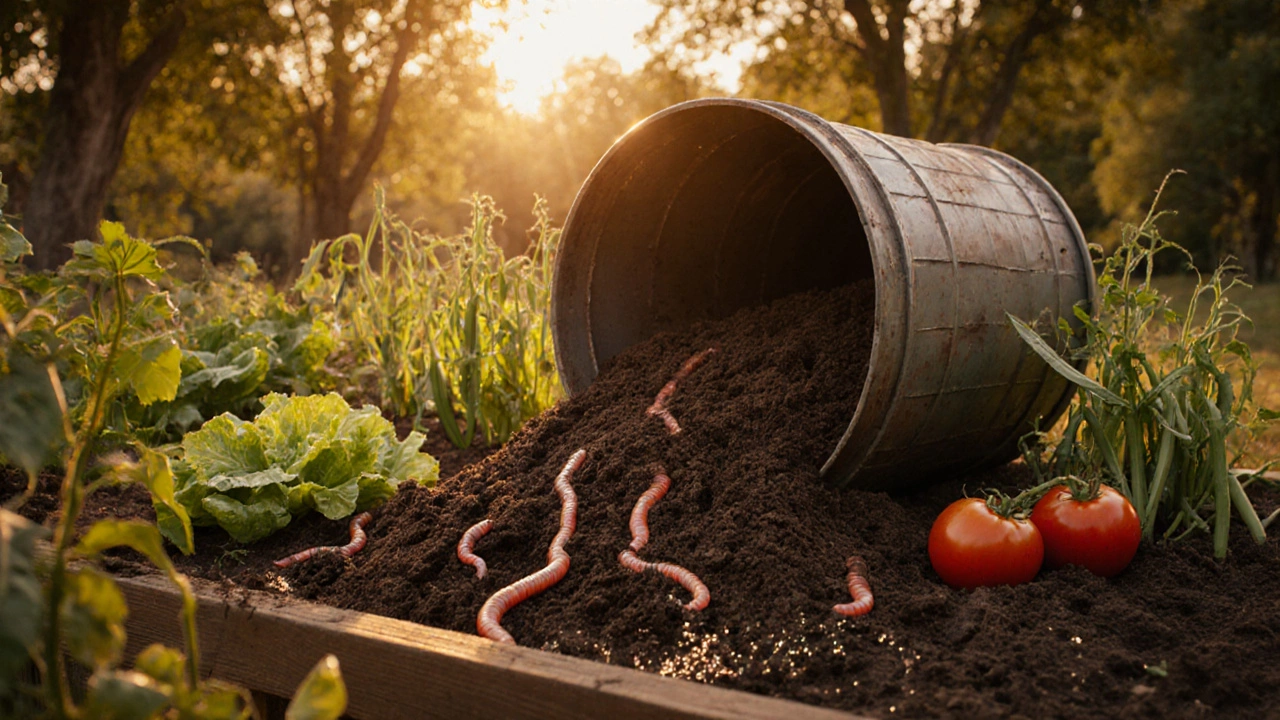
Micro‑Helpers: The Unseen Workforce
While you’re busy tossing layers, a massive community of microorganisms-bacteria, fungi, actinomycetes-are breaking down the material. Earthworms and their castings (worm humus) also speed up the process, especially in vermicomposting setups.
All you need to do is keep them fed, comfortable, and away from extremes.
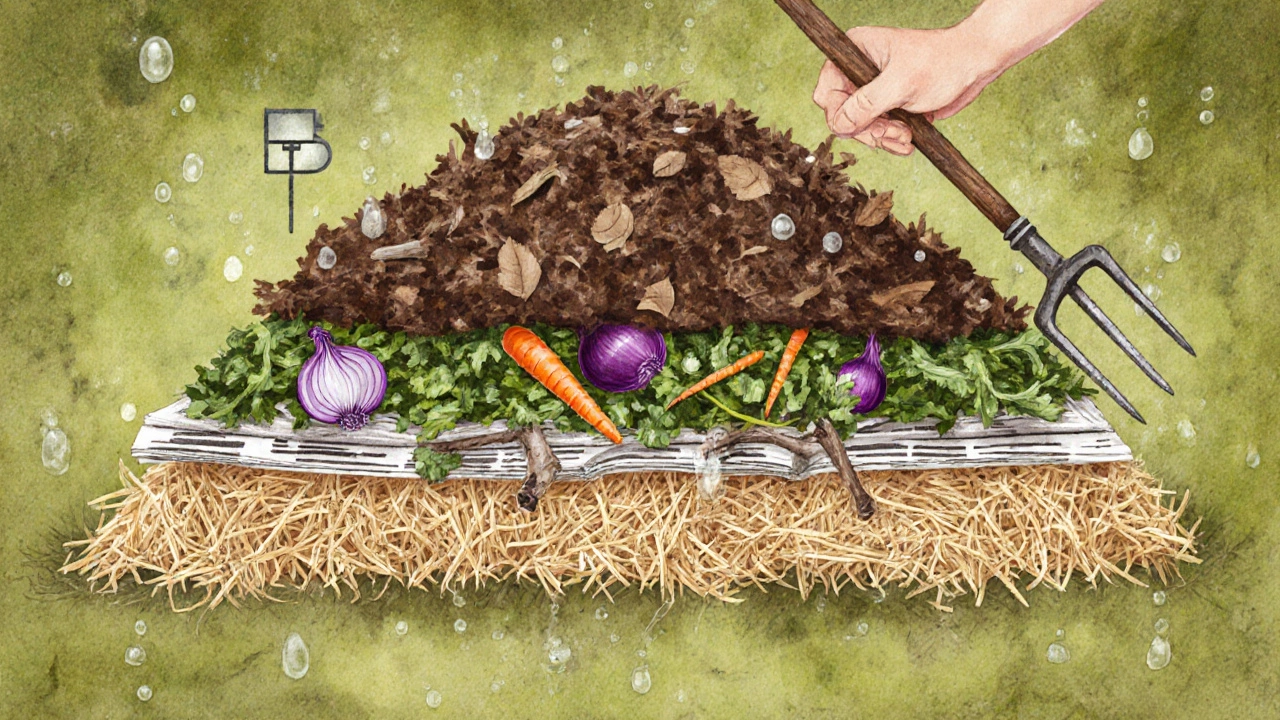
Step‑by‑Step: Building Your First Compost Bin
- Choose a spot: a shaded corner with good drainage.
- Lay a base of coarse browns (straw or small branches) for airflow.
- Add a 2‑inch layer of greens.
- Cover greens with another 4‑inch layer of browns.
- Moisten each new layer lightly; aim for that wrung‑out‑sponge feel.
- Repeat layers until the bin is about 3‑4 feet tall.
- Turn the pile every 1‑2 weeks with a pitchfork or compost aerator.
- Monitor moisture and temperature; a healthy pile reaches 130‑150°F (54‑66°C) during active phases.
Within 2‑4 months you’ll have dark, crumbly compost ready to spread around your beds.
Common Mistakes and Quick Fixes
- Too Many Greens: Pile gets soggy and smells. Add extra browns and turn more often.
- Not Enough Air: Pack material too tightly. Loosen with a fork or add coarse branches.
- Cold Pile: In winter or in a shaded spot, the pile stays cool. Add a tarp for insulation or introduce a compost starter (finished compost or garden soil).
- Wrong Materials: Avoid meat, dairy, oily foods, and pet waste-they attract pests and slow decomposition.
Quick Checklist for Ongoing Success
- Maintain a 3:1 brown‑to‑green volume ratio.
- Check moisture weekly - squeeze test.
- Turn the pile every 10‑14 days.
- Keep the pile size between 3‑4 feet for heat retention.
- Cover fresh greens with browns within 24 hours.
- Avoid adding diseased plants or invasive weeds unless they’ve been composted for 6 months.
Follow this list and you’ll never wonder again why your compost stalls.
Beyond the Basics: Enhancing Your Compost
Once you’ve mastered the four core ingredients, you can experiment with additives:
- Eggshells (calcium boost) - crush before adding.
- Seaweed (potassium and trace minerals) - rinse to remove excess salt.
- Wood ash (pH adjustment) - sprinkle sparingly, especially if your soil is already alkaline.
These tweaks aren’t required, but they can tailor the final product to specific garden needs.
Why the Right Ingredients Matter
Getting the four ingredients right speeds up decomposition, reduces odors, and yields a nutrient‑rich amendment that improves soil structure, water holding capacity, and plant vigor. In short, healthy compost means healthier plants, less need for synthetic fertilizers, and a smaller household waste footprint.
Bottom Line
Successful composting hinges on a balanced mix of compost ingredients: carbon‑rich browns, nitrogen‑rich greens, ample oxygen, and the right amount of moisture. Keep the layers fluffy, turn regularly, and watch nature do the rest.
Frequently Asked Questions
Can I compost meat or dairy?
It’s best to avoid meat, fish, dairy, and oily foods. They attract pests, create foul odors, and decompose slowly. Stick to plant‑based scraps for a smooth‑running pile.
How often should I turn my compost?
Turn the pile every 1‑2 weeks during active phases. In colder months, you can turn less often, but still aim for at least once a month to keep oxygen flowing.
What’s the ideal moisture level?
The pile should feel like a well‑wrung sponge - damp to the touch but not dripping. If it’s soggy, add more browns; if it’s dry, sprinkle a little water.
Do I need a special bin?
A simple wooden or wire bin works fine. The key is good airflow, so make sure the sides have gaps or drill holes. Large commercial bins are overkill for a backyard garden.
How long does it take to get usable compost?
Under optimal conditions (proper C:N ratio, regular turning, adequate moisture) you can harvest dark, crumbly compost in 2‑4 months. Slower piles can take 6‑12 months.