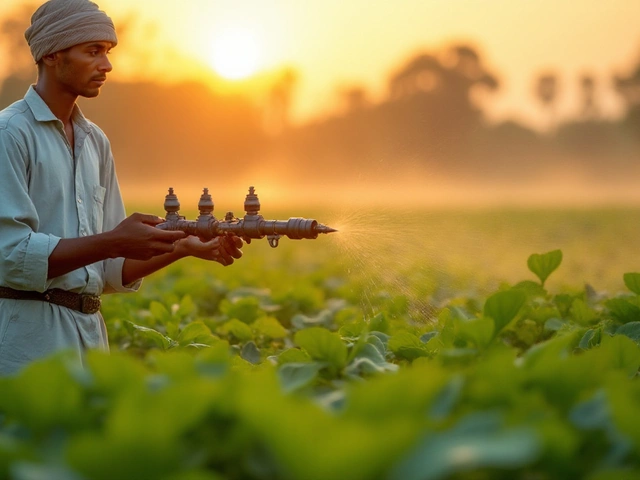
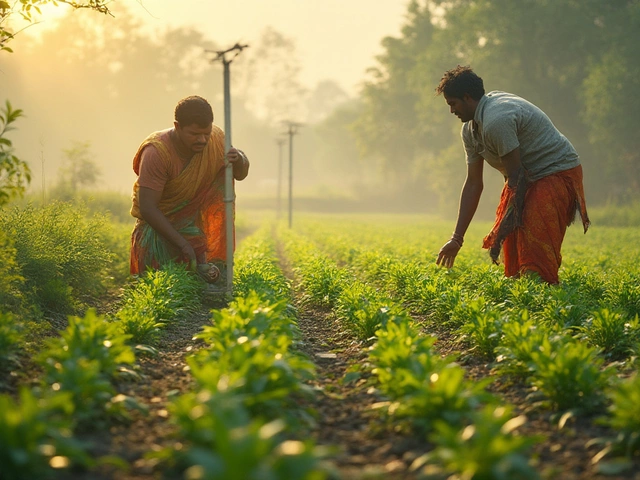
Ever wonder why your plants look wilted in spots, while some areas always seem soggy? Chances are, it’s because your drip emitters aren’t set up right. Getting the number of emitters per zone just right is the secret sauce to a lush garden—and honestly, it saves you tons on your water bill. Too few emitters and your plants are constantly thirsty; too many and you’re just asking for problems with low water pressure or runoff.
If you’re setting up a drip irrigation system, you need to start by thinking about what your plants actually crave. Not all zones are equal. Think about it: watering salad greens is nothing like watering a big row of tomatoes or shrubs. If you just guess, you’ll waste time and money fixing dry patches or fighting root rot. Knowing exactly how many emitters a zone needs isn’t guesswork—there’s a method, and it’s way simpler than it sounds.
- Why Drip Emitters Per Zone Matter
- Key Factors to Consider
- Calculating Emitter Numbers
- Emitter Spacing Tricks
- Avoiding Common Mistakes
- Tips for Tuning Your Setup
Why Drip Emitters Per Zone Matter
Getting the right number of drip emitters in each zone is way more important than most people think. If you add too many emitters, you’ll lower the pressure in the whole zone—sometimes to the point where water barely trickles out. On the flip side, too few emitters means your thirsty plants don’t get enough water, and you end up with dried-out leaves or stunted growth.
This isn’t just about keeping plants happy; it’s also about not wasting resources. By dialing in the correct amount of emitters, you make sure every drop goes right where it’s needed. That means you get bigger harvests, healthier ornamentals, and no more crazy water bills.
Watering needs also change a lot based on what you’re growing. For example, fruit trees usually need several gallons each time you water, while lettuce or strawberries use much less. If you just plop the same number of emitters everywhere, you’re leaving things up to chance. As the University of California’s Agriculture and Natural Resources department puts it:
“If the system is overloaded, plants at the end of the line may receive inadequate water, resulting in uneven growth and crop loss.”
It’s not just the end of the line you have to worry about, either. Zones need to be balanced so that water pressure stays even and every plant gets its share. Otherwise, growth turns patchy and disease risks go up.
- The drip irrigation setup only works as well as your planning. Take time to count your emitters before you fire up that valve.
- Remember, each irrigation zone should be based on similar plant types and watering needs for best results.
- It takes a few extra minutes to measure it out right, but you save hours of hassle later on—plus, your plants will actually thank you for it.
Key Factors to Consider
When you’re figuring out how many emitters per zone you actually need, you have to look at a few key things. Skip any of these and you’ll almost always end up with unhappy plants or parts of your garden getting way too much or way too little water.
- Drip irrigation system capacity – Every system has a limit on how much water it can deliver per hour before the pressure drops and everything struggles. Find out your system’s max flow rate (often in gallons per hour, GPH) before you even pick up a shovel.
- Emitter flow rate – The little numbers on your emitters (like 0.5, 1, or 2 GPH) actually matter. If you mix and match too many high-flow ones in one zone, you’ll overload your main line fast.
- Plant water needs – Tomatoes drink more than succulents, and shrubs need deeper watering than lettuce. Check out the plant tags or popular extension service guides for gallon-per-week needs.
- Number of plants and spacing – More plants or closer spacing means either more emitters or ones with a lower flow, so you avoid flooding or starving anything.
- Soil type – Clay hangs onto water, so fewer emitters might do. Sandy soil? You’ll want more emitters or a slightly higher flow, since water vanishes fast.
Here’s a quick look at how much water different setups can handle, all else being perfect:
| Pipe Size (inches) | Max Flow Rate (GPH) | Typical Max Emitter Count (1 GPH) |
|---|---|---|
| 1/2" Poly Tubing | 240 | Up to 240 |
| 3/8" Poly Tubing | 90 | Up to 90 |
| 1/4" Distribution Line | 30 | Up to 30 |
One last thing: elevation changes make a difference. A slope in your yard could mean you need to space emitters closer at the top, since gravity makes water run down before soaking in. Keep these simple checks in mind and you’ll avoid 90% of rookie mistakes before you ever get wet.
Calculating Emitter Numbers
This is where things get real. You can’t just throw emitters around and hope for the best—there’s a formula behind figuring out how many you actually need per zone.
First, you need to know your water source’s flow rate. Most folks don’t realize their faucet or main line can only deliver so much at once. You measure flow rate in gallons per hour (GPH). A quick way: grab a bucket, time how long it takes to fill a gallon, and do the math for an hour. For example, if your tap fills a 1-gallon jug in 30 seconds, your flow rate is 120 gallons per hour (1 gallon x 120 fills per hour).
Next, check the emitter flow rate. Drip emitters usually come in ratings like 0.5 GPH, 1 GPH, or 2 GPH. Add up the total water all your emitters will use. The main rule: the total GPH of all emitters in a zone should never go above 80% of your system’s available flow rate. This safety margin helps you avoid pressure drops that leave far-off plants thirsty.
- Say your flow rate is 120 GPH. To be safe, use no more than 96 GPH total for all emitters in that zone (120 x 0.8).
- If you’re using 1 GPH emitters, you could run up to 96 emitters in one zone. Using 2 GPH emitters? Cap it at 48, unless you want to risk water running out before every plant is happy.
One more thing: don’t forget plant water needs. A small herb might get by with a single 0.5 GPH emitter, but a thirsty tomato plant could want two 1 GPH emitters. Group plants with similar water needs in the same drip irrigation zone. Mixing cactus and cucumbers in the same zone just causes headaches and dead plants.
Bottom line—figure out your water flow per hour, compare that with how many emitters your plants really need, and check that the total stays well below the max. It keeps the pressure steady, the water flowing, and your plants a whole lot happier.

Emitter Spacing Tricks
There's no one-size-fits-all answer when it comes to placing emitters on your drip irrigation line. It really depends on your plants, soil, and how thirsty everything is. For veggies in loose, sandy soil, emitters close together—say every 12 inches—make sense because water drains fast and roots don't reach far. On the other hand, with clay or heavy soils, you can spread emitters out—try every 18 to 24 inches—since water moves sideways more than down. Spacing matters if you want even coverage and no dry spots in the middle of your bed.
Here's a quick rule: Small, single plants like peppers usually need just one emitter per plant. But if you've got bigger plants or shrubs, stick emitters on both sides of the root zone so water actually gets where it’s needed. For rows, like tomatoes or beans, lay drip lines right next to the base of the plants, with emitters 12 to 18 inches apart. This way, roots don’t have to fight for water and you’re not soaking empty ground.
- If you're growing in raised beds, a grid pattern with emitters every 12 inches covers things well.
- For wide-spaced crops or fruit trees, you can put two or three emitters around the drip line (the outside edge of the canopy).
- Check the soil after running your system: if water isn’t reaching all the roots, move emitters or add more where needed.
Every garden is a bit different. So, after you’ve set up your system, spend a little time watching how far water spreads out from each emitter. You’ll figure out pretty quick if you’ve got the placement dialed in. And remember, the right spacing keeps your drip irrigation system efficient and your plants stress-free.
Avoiding Common Mistakes
Messing up the number or placement of drip emitters is way too easy, and it’s one of the main reasons folks get uneven watering or sad-looking plants. Here’s what to watch out for if you want to avoid rookie mistakes in your drip irrigation setup.
- Ignoring water flow limits: Most home garden irrigation lines only handle a set amount of flow. If you cram too many emitters on one zone, your system loses pressure and the last plants barely get a drink.
- Treating all plants the same: Shrubs, flowers, and veggies all have different water needs. Tomatoes are way thirstier than lettuce, for example. Slapping the same number of emitters everywhere just doesn’t work for a mixed garden.
- Bad spacing: Clumping all emitters close together or spreading them out too far skips big sections of your roots. Water should actually reach the root zone, not just the soil surface or the plant’s edges.
- Guessing instead of measuring: Never eyeball it! Do a quick test with a bucket to see how much water your emitters really put out. Manufacturers’ numbers aren’t always spot-on in the real world.
Here’s what the University of California Agriculture says about overloading:
"Zones with too many emitters will never fully pressurize, so water won’t distribute properly. Grouping plants with similar water needs together and double-checking flow rates is the best way to avoid headaches."
To get a sense of what happens when you overdo or underdo the emitter count, check this out:
| Emitter/Zone Setup | Common Problem | Result |
|---|---|---|
| Too Many Emitters | Low Pressure | Weak water delivery, last plants don’t get enough |
| Too Few Emitters | Underwatering | Wilting or stunted plant growth |
| Uneven Spacing | Dry patches/overlap | Some plants drown, others dry up |
Another tip: Check your system at least once a season. Dirt and minerals can clog emitters fast, especially if you have hard water. A quick flush keeps things working right and makes sure every plant gets its fair share.
Tips for Tuning Your Setup
Once your drip system is in, you’re not done—now comes the fine-tuning. Trust me, even the best-planned setups can miss a spot or soak a corner if you skip this part. Here’s what works for dialing everything in just right.
- Test for Even Coverage: Run each zone for about 30 minutes, then check soil moisture around each plant. Stick your finger a couple inches into the dirt. Still dry? Bump up the emitters there or swap to a higher-flow type.
- Check your water flow at the source. A standard home faucet often puts out 4-10 gallons per minute (gpm), but drip emitters usually use 0.5-2 gallons per hour (gph) each—see the difference? You won’t max out your water line unless you use way too many emitters. A good ballpark is to keep your whole system below 75% of your supply’s flow rate.
- If you spot puddling, dial back. Fewer emitters or lower-flow ones can stop soggy messes and prevent root disease.
- Don’t ignore pressure. Emitters work best at 10-25 PSI (pounds per square inch). Higher pressure can actually blow out your lines or cause uneven watering. Use a pressure regulator if you notice wild spurts or dribbles.
- Take notes—seriously. Label your zones and jot down the number and flow of each emitter. It makes troubleshooting and expansion a no-brainer later on.
Running into trouble? Here’s a quick look at how emitter counts work out with typical home water supplies:
| Faucet Flow Rate (gpm) | Emitter Flow (gph) | Max Number of Emitters |
|---|---|---|
| 5 | 1 | 300 |
| 5 | 2 | 150 |
| 8 | 1 | 480 |
| 8 | 2 | 240 |
Give yourself a “test week.” Tweak the number of emitters in areas that look too wet or too dry. Swap out emitter types or reroute tubing as needed. The whole point of a drip irrigation system is control—so use it, don’t set it and forget it. Plants, weather, and your garden setup can change all the time, so make adjustments part of your routine.
